
You've booked the appointment, saved a few jewellery ideas, and now you're wondering whether there's anything you should do before walking into the studio. There is. The 24 hours before an ear piercing can influence how calm you feel, how clearly you communicate your placement preferences, and how prepared you are for the healing routine.
Good preparation isn't complicated. It means checking the studio, arriving with clean skin, making sensible plans around food and activities, and choosing jewellery that won't create avoidable problems. This UK-focused guide walks you through how to prepare for ear piercing, from the first booking question to the aftercare commitment that follows.
Essential Pre-Booking Checks for UK Clients
Before choosing an appointment time, confirm that the studio is registered for the services it provides and that its consent policy suits you. In England and Wales, cosmetic ear piercing is regulated locally rather than through one national system. Businesses must register with the relevant local council, which can enforce byelaws covering staff hygiene, premises cleanliness, and equipment safety. The Local Government (Miscellaneous Provisions) Act 1982 has been used by local authorities to regulate tattooing and body piercing, including ear piercing, as explained in UK government licensing guidance.
Ask the studio whether it is registered with the appropriate council. A reputable piercer should answer clearly about equipment, jewellery, consent forms, and aftercare. Use professional piercers near you to compare local studios and check how openly they describe their services.
Confirm consent before you travel
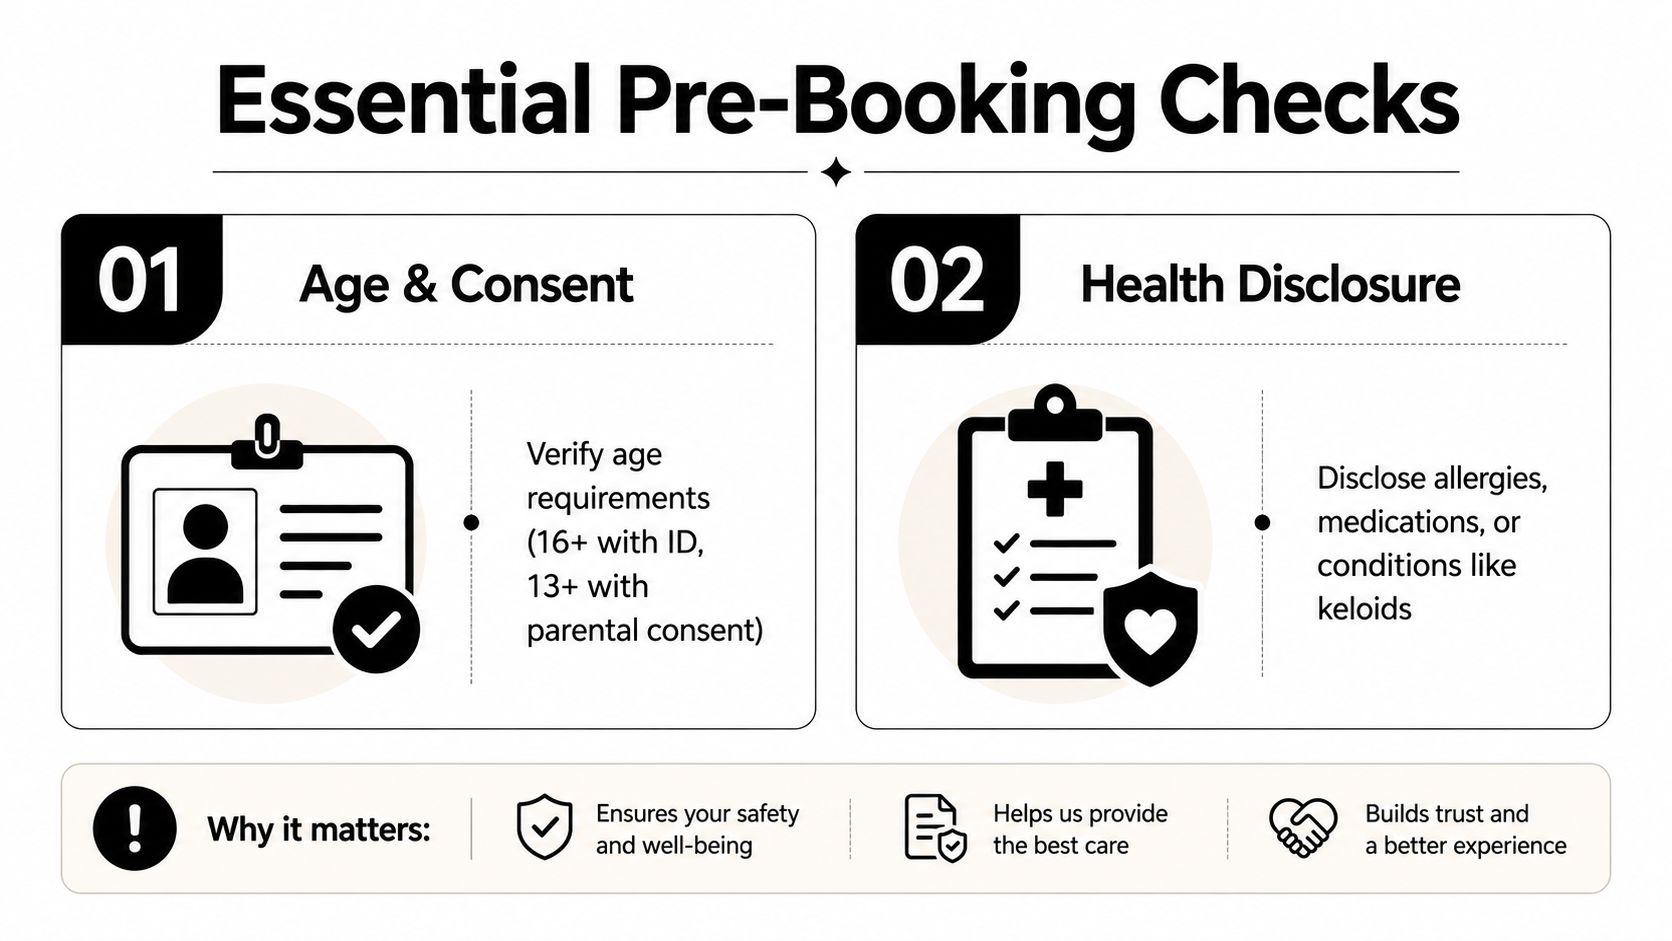
Consent arrangements differ between nations. UK industry and legal guidance says parental or guardian consent is required up to age 16, with Scotland specifically highlighted as requiring parental consent for under-16s. This distinction is outlined in the following UK children's ear-piercing age and consent guide. Check the studio's current policy before booking. It may require identification, proof of guardianship, or the consenting adult to attend in person.
Disclose anything that could affect the appointment
Tell the piercer about allergies, skin conditions, medication, previous jewellery reactions, or a tendency to develop raised scars or keloids. Share these details before travelling, not only after you arrive. The piercer can then discuss whether the timing, placement, or jewellery choice should change, or whether medical advice is appropriate first.
The 24-hour window is also the right time to contact the studio if your skin becomes irritated or your plans change. Do not conceal a concern to avoid losing the appointment.
Practical rule: If the skin is broken, inflamed, or unusually irritated on the day, postpone rather than asking a piercer to work through it.
Verifying Studio Hygiene and Safety Standards
A clean-looking reception area is reassuring, but it doesn't prove that the piercing procedure is being carried out safely. The useful checks happen at the treatment station. UK public health guidance describes handwashing as fundamental, and local authority codes require the piercer to wash with soap and water, use new disposable gloves for each client, and cleanse the skin before treatment. These steps form the basic infection-prevention sequence, not an optional extra.
Watch what happens before the piercing begins. The piercer should prepare the area without rushing, open sterile equipment appropriately, and use fresh gloves for your procedure. Alcohol hand rub isn't a replacement for proper handwashing before an invasive procedure, even if it's commonly used in other settings. The skin should also be intact and prepared with an appropriate disinfectant according to the studio's protocol.
Questions worth asking plainly
You don't need specialist vocabulary. Ask, “Is the piercing equipment single-use and sterile?” Then ask what happens to any equipment that isn't disposable. A clear answer is more useful than a vague promise that the studio is “very clean”.
You should also ask:
- Jewellery material: Is the initial jewellery implant-safe, and can you see the material information?
- Gloves: Will the piercer wash their hands before putting on new gloves?
- Aftercare: Will you receive written instructions before you leave?
- Placement: Will the piercer assess your ear anatomy before marking the position?
- Concerns: Who should you contact if the area becomes increasingly painful or swollen?
For more information about why equipment choice matters, review guidance on single-use piercing needles. If the studio avoids basic questions, reuses disposable equipment, touches unrelated surfaces with gloved hands, or pressures you to continue despite a concern, leave. Convenience isn't a good trade for uncertainty around hygiene.
Your 24-Hour Preparation Checklist
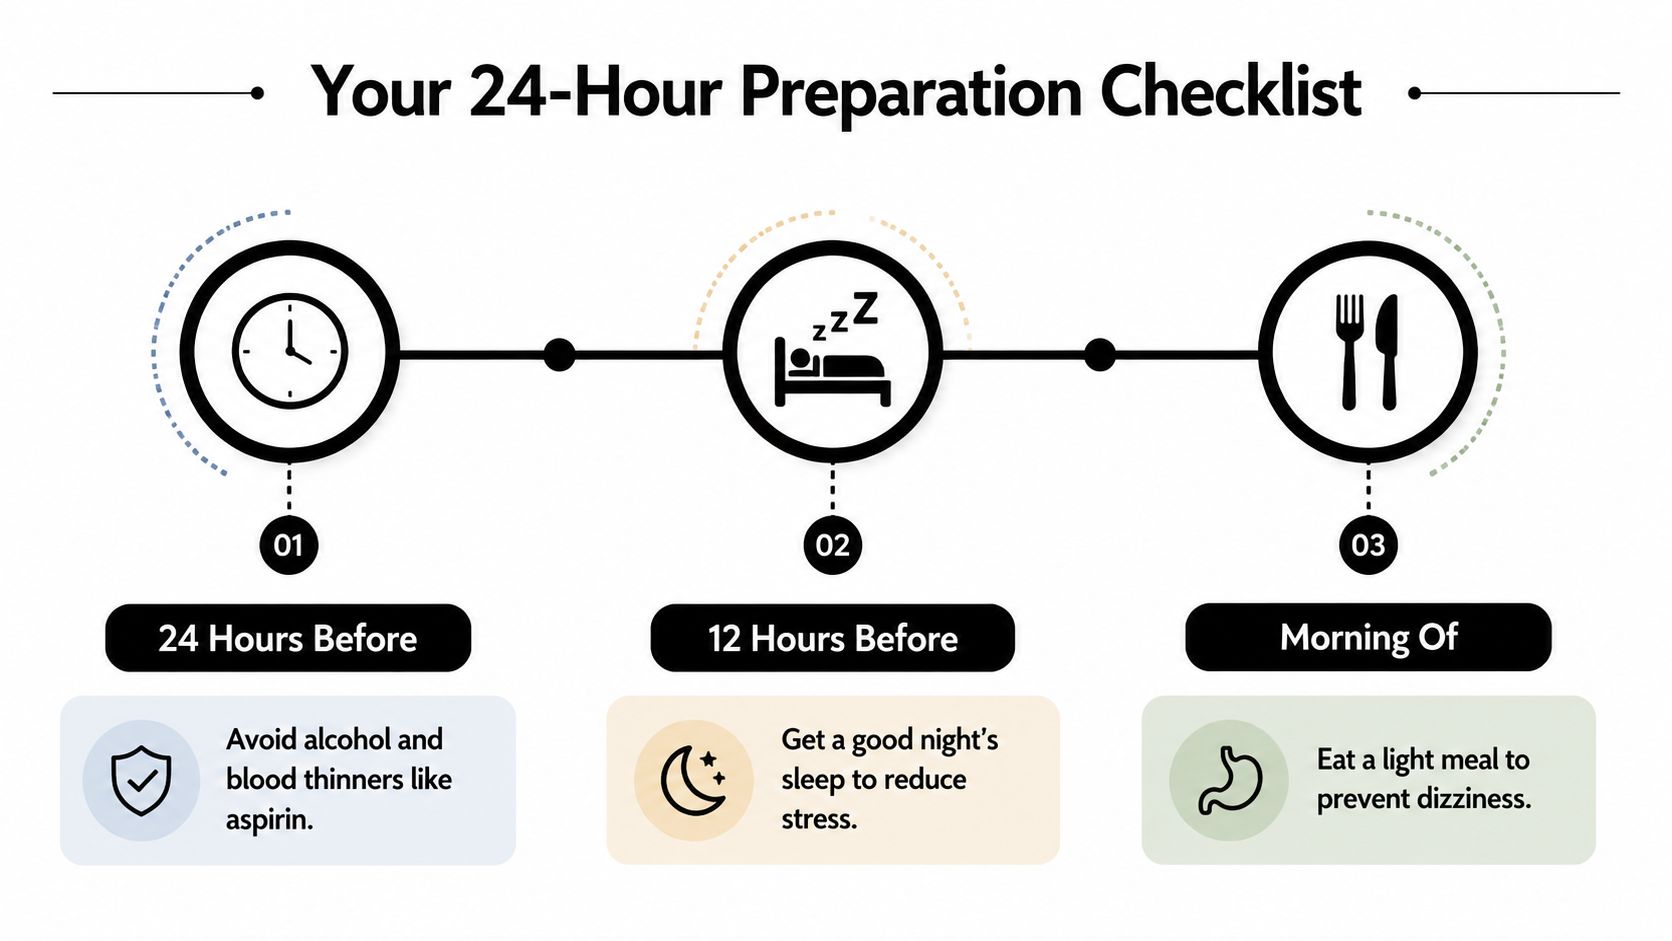
The day before your appointment, focus on stability rather than drastic preparation. Eat normally, drink water, and avoid turning the appointment into a late-night occasion. You don't need a special diet, but arriving hungry, dehydrated, or exhausted can make nerves feel much stronger.
The following checklist keeps the final day practical:
Plan food before the appointment. Have a light, familiar meal before you leave. This helps you avoid arriving faint or distracted by hunger. Don't experiment with unfamiliar foods or supplements immediately beforehand.
Drink water throughout the day. Hydration supports general comfort, especially if you'll be travelling or waiting. Avoid arriving after heavy alcohol consumption, and don't use alcohol to manage anxiety.
Review medication questions early. Don't stop prescribed medication without advice from the clinician who prescribed it. Tell the piercer about medication that may affect bleeding, healing, or skin sensitivity, and ask whether the appointment should be delayed.
Protect your sleep. A calm evening and a reasonable night's sleep can make it easier to stay still, communicate clearly, and follow instructions. If you're especially anxious, write down your questions instead of trying to remember them in the chair.
Keep the ear clean and product-free
On the morning of the appointment, wash normally and arrive with clean skin. Don't apply lotions, oils, makeup, perfume, hairspray, or styling products around the ear. Tie back long hair if it may brush against the area, but don't create a tight hairstyle that causes pressure.
Wear something comfortable that won't catch on the jewellery. A loose top or a wider neckline is usually easier than clothing that must be pulled tightly over your head. Pack identification and any required consent documents, your placement ideas, and a way to record aftercare instructions.
Sports and swimming need planning too. If you have a swim, contact sport, holiday, or event scheduled soon after the appointment, tell the piercer before committing to the date. UK guidance advises avoiding swimming during the early period after piercing, and local aftercare codes commonly extend that caution to pools, hot tubs, lakes, rivers, and the sea while the piercing heals. The UK body-piercing infection-prevention guidance also stresses clean hands, sterile equipment, written aftercare, and seeking medical help if concerning symptoms appear.
Choosing the Right Jewellery for First-Time Piercings
Initial jewellery needs to support healing, not just match an outfit. The safest choice is jewellery that the studio can identify clearly as implant-safe, with an appropriate finish and enough space for normal early swelling. Cheap fashion earrings may contain metals that irritate sensitive skin, and decorative pieces can have rough surfaces or shapes that catch on hair and clothing.
Titanium is often selected for first piercings because it's lightweight and commonly available in implant-safe grades. Gold can be suitable when its quality and composition are clear, but “gold-coloured” isn't the same as solid, appropriate jewellery for a fresh piercing. Surgical steel is not automatically suitable for everyone, so ask the piercer what grade they use and whether it's appropriate for your history of metal sensitivity.
Compare the options before you choose
| Material | Healing Compatibility | Risk Level | Best For |
|---|---|---|---|
| Implant-safe titanium | Strong option when correctly specified and fitted | Lower concern when supplied by a reputable studio | Sensitive clients and fresh piercings |
| Clearly specified implant-safe steel | May suit some clients, subject to material quality and personal tolerance | Varies with grade and sensitivity | Clients advised by an experienced piercer |
| Suitable solid gold | Can work when composition, quality, and design are appropriate | Depends on purity, alloys, plating, and finish | Clients wanting a premium decorative option |
| Plated or unidentified fashion jewellery | Poor choice for a new piercing | Higher risk of irritation and surface problems | Established, fully healed piercings only, if suitable |
The design matters as much as the metal. A flat-back stud is usually easier to protect during early healing than a large hoop that moves, catches, and collects product. Cartilage placements also need careful sizing because pressure from sleeping, headphones, or hair can aggravate them.
Confirm the studio uses sterile, single-use equipment and implant-safe jewellery. Arrive with clean skin, no lotions or makeup on the ear, and ask the piercer to review the cleaning plan before you leave. These practical steps align with UK cosmetic piercing code guidance, which also supports giving clients clear aftercare information before problems begin.
What to Expect on the Day of Your Appointment
A calm appointment starts with an honest check-in. You'll confirm your details and complete consent paperwork while the piercer asks about allergies, medical history, previous piercings, skin reactions, and your preferred placement. Answer fully, even when a detail seems unrelated. It may affect the jewellery, technique, or whether postponing the piercing is safer.

The piercer will examine your ear and discuss the placement. Ask to see the proposed mark in a mirror before the procedure, checking it from the front and side. This matters even more if you may add other piercings later. Once jewellery is in place, correcting a mark you never approved is avoidable and may require further irritation to the area.
The piercing itself is quick, but the service includes preparation, consent, marking, and aftercare instructions. Expect a sharp pinch and pressure, followed by possible warmth or throbbing. Tell the piercer immediately if you feel faint, panicked, or uncertain. They can stop, give you time, and explain the next step.
A support person may help if the studio allows one, particularly for a nervous client or a child's appointment. Parents should check consent rules before booking. There is no single minimum age across England and Wales, and requirements differ between UK nations. Parental or guardian consent may apply up to age 16, while Scotland has a specific requirement for under-16s.
Before you leave, read the written aftercare and ask questions while the piercer can demonstrate anything unclear. For bookings or questions, contact the studio by phone on 01202 9000 50 or by WhatsApp on 07752913846.
Starting Your Six-Week Aftercare Commitment
Preparation only works when it leads into consistent aftercare. For a lobe piercing, plan to keep the initial jewellery in place for six weeks, following the advice of Great Ormond Street Hospital. Removing jewellery too early can allow the piercing to close, even if the outside looks settled. Cartilage generally needs longer and deserves extra care around sleeping, headphones, hair, and accidental knocks.
Wash your hands before touching the jewellery or piercing. Great Ormond Street Hospital advises cleaning once a day with simple saline or a fragrance-free cleanser, while UK aftercare guidance commonly recommends saline cleaning twice daily. Follow the specific routine given by your piercer, and don't compensate for missed cleaning by scrubbing aggressively.
Keep irritation low
Avoid twisting, turning, or moving jewellery when the area is dry. Don't pick crusting, apply alcohol or hydrogen peroxide, or use harsh antiseptics unless a healthcare professional specifically advises it. Keep hair products away from the site and protect the piercing from unnecessary pressure.
NHS advice for infected piercings recommends warm salty water to soften crusting, avoiding cotton wool, and not swimming during the first 24 hours. Local UK aftercare guidance is more cautious during healing and commonly advises avoiding pools, hot tubs, lakes, rivers, and the sea because water exposure can raise infection risk. If redness, swelling, pain, heat, or discharge is worsening rather than settling, seek medical advice promptly and don't remove the jewellery unless a clinician tells you to.
For a clear routine after your appointment, use this ear piercing aftercare guide. Treat the six weeks as a commitment you schedule around, not a period you hope to get through. That mindset prevents the common mistakes, especially premature jewellery changes, unnecessary touching, and swimming too soon.
Piercing Near Me helps you find professional piercing services in Croydon and Bournemouth, with guidance on placement, implant-safe jewellery, preparation, and personalised aftercare. Visit Piercing Near Me to explore local options and arrange your piercing with practical support from booking through healing.