Ever seen a tiny, sparkling gem that seems to float right on the skin, with no visible entry or exit point? That's the magic of a microdermal anchor piercing. It's a single-point piercing that gives the illusion of jewellery simply resting on your body, a look that’s impossible with traditional piercings.
Decoding the Dermal Anchor Piercing
So, how does it work? Unlike a standard piercing that goes in one side and out the other, a dermal anchor is exactly what its name suggests: an anchor. We place a small base with a post attached to it just underneath the surface of your skin, leaving only the threaded post visible. This is what you screw your decorative jewellery top onto.
Think of it like putting a heavy mirror on a plasterboard wall. You wouldn’t just use a nail; you’d fit a special anchor first to make sure it holds securely. A microdermal works on the same principle. The base is designed to have small perforations, allowing your skin's tissue to grow through and around it, locking it firmly in place over time.
This single-point technique has completely changed what's possible with body art. It’s opened up a world of placements on flatter areas of the body that were always tricky or prone to rejection with older methods, creating a beautifully minimalist aesthetic.
This is a huge leap forward from old-school surface piercings, which used a staple-shaped bar that sat under the skin with two ends poking out. The constant tension that bar placed on the skin meant they were notorious for migrating and rejecting. A microdermal, with its single point of pressure, is far more stable.
The Modern Alternative to Surface Piercings
The development of the microdermal anchor was a genuine turning point in the piercing world. Before they came along, getting that single decorative point on a flat part of the body was a gamble, and it often didn't last. Here’s why they’ve become the go-to choice:
- Placement Versatility: With no need for an exit point, we can place them almost anywhere – collarbones, the nape of your neck, chest, or even on the face.
- Reduced Rejection Risk: The single-point design puts far less stress on the surrounding tissue compared to a traditional surface bar, making it much less likely for your body to push it out.
- Aesthetic Freedom: You get that clean, unique look of a gem or stud sitting directly on the skin, almost like it’s part of you.
It's important to go into this with realistic expectations, though. We often describe these piercings as ‘long-term temporary.’ A well-placed dermal that you look after properly can last for many, many years. However, because they sit on the surface, there’s always a risk of them getting caught on clothing or eventually rejecting.
This is exactly why getting it done professionally is non-negotiable. An experienced piercer, like our team at Timebomb Tattoo & Piercing, knows how to read your anatomy. We find a spot with minimal movement and place the anchor at the perfect depth—deep enough to be secure, but shallow enough that it won’t get embedded or cause issues down the line.
The Microdermal Piercing Procedure Step by Step
Walking into a piercing studio for the first time can feel a little daunting, but knowing exactly what’s going to happen helps turn those nerves into pure excitement. Here at Timebomb, your safety and comfort are our top priorities. Let’s walk through the entire process, so you can see just how calm, clean, and controlled getting a microdermal anchor piercing really is.
It all starts with a good chat. This initial consultation is where your piercer gets to grips with what you’re looking for. We’ll take a look at your anatomy, discuss the placement you have in mind, and make sure the spot you’ve chosen is going to work long-term. Some areas of the body move and stretch a lot, which can make healing a dermal tricky, so we’ll find the perfect, stable location together.
Once we’ve settled on the ideal spot, you’ll get to pick your jewellery. For a brand-new microdermal, the only material we use is implant-grade titanium (ASTM F-136). It’s completely biocompatible, meaning your body is far less likely to have a reaction to it. You’ll start with something simple and low-profile, like a flat disc or a bezel-set gem, to give it the best chance at healing.
Preparation and Precision
With the placement and jewellery sorted, we move on to the technical side of things. Your piercer will be working in a scrupulously clean environment, using fresh gloves and marking the piercing spot with a single-use surgical marker. We'll always show you the mark and get your final "okay" before we proceed.
Next up is cleaning the skin with a medical-grade antiseptic. This is a vital step to clear away any surface bacteria and dramatically reduce the risk of infection. You can rest easy knowing that every single tool we use—from the needle or dermal punch to the jewellery itself—has been sterilised in our autoclave.
A professional piercer’s world revolves around maintaining a sterile field. From single-use needles to autoclaved forceps, every single item is handled with immense care to protect your health and ensure your piercing heals beautifully.
The piercing itself is over in a flash. We’ll use either a needle to create a small pocket under the skin or a dermal punch to remove a tiny bit of tissue. Your piercer will work with absolute precision. Most people say it feels like a brief, sharp pinch, rating the pain at about a 4 out of 10. It’s an intense but very quick sensation that’s gone in seconds. If you want to know more about why needles are the professional standard, you can read our guide on piercing guns vs. needles.
Placing the Anchor
As soon as the opening is made, the piercer uses specialised forceps to gently slide the microdermal anchor base into the pocket beneath your skin. They’ll carefully position it so it sits completely flat and flush. You might feel a little bit of pressure during this part, but it isn’t painful.
This diagram gives you a great idea of how the anchor sits below the surface, creating a secure base for the jewellery top you see.
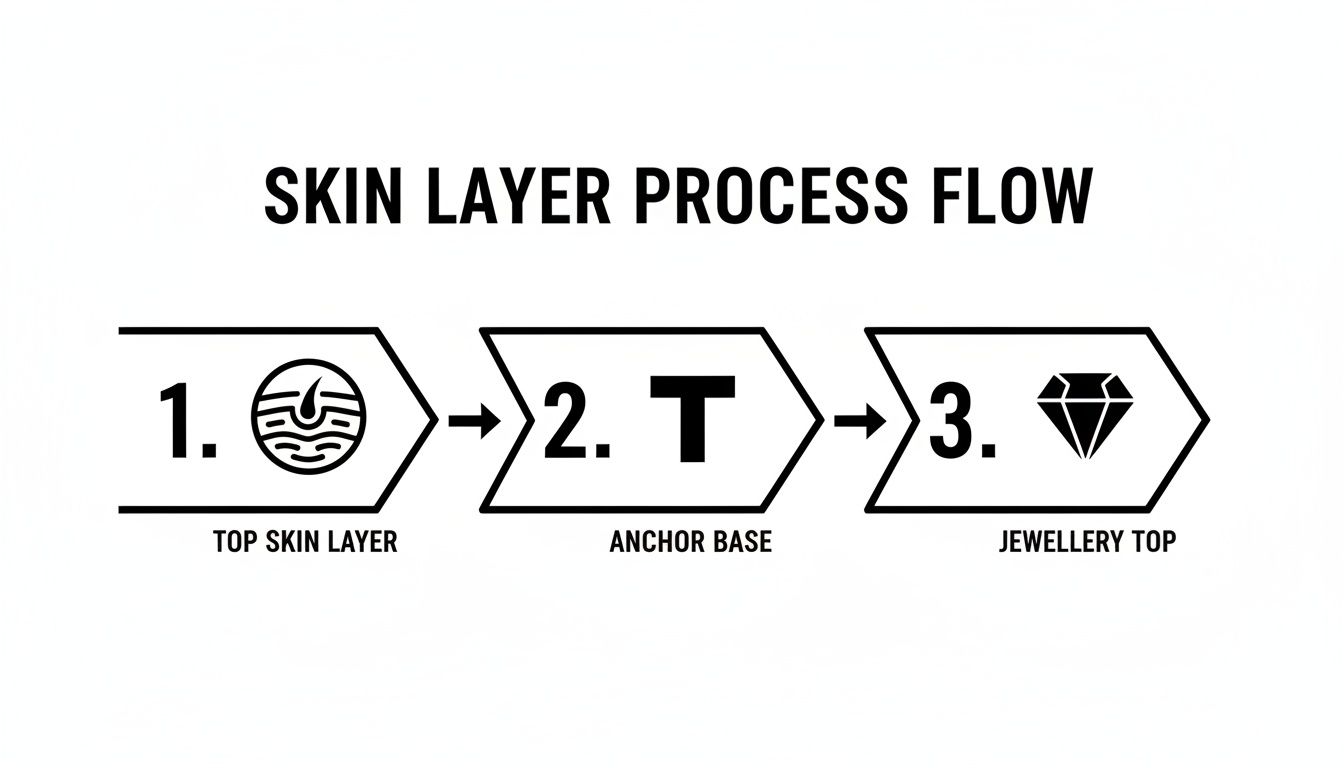
As you can see, it’s a clever bit of engineering. The anchor holds firm in the dermal layer, allowing the decorative top to sit securely on the surface. To finish, your piercer will screw your chosen top onto the post, clean the area one last time, and usually pop a small, breathable plaster over it to protect it for the first 24 hours.
These piercings have become incredibly popular over the last decade. A 2008 survey showed that non-earlobe piercings were already quite common in our neck of the woods, with a prevalence of 10.3% in the South East and 9.3% in the South West. This shows just how much people around our Croydon and Bournemouth studios have embraced body art, and the demand continues to grow.
Healing and Aftercare for Your Dermal Anchor
Right, the piercing is done, and your new jewellery looks fantastic. Now comes the part that’s entirely down to you: the healing. The long-term success of a microdermal anchor piercing hinges almost completely on your patience and aftercare routine. It's a bit like caring for a tiny, delicate plant—it needs a stable, gentle environment to truly take root.
Healing a dermal is a unique process. Unlike a standard piercing where you’re healing a tunnel, here your body has to physically grow new skin through and around the base of the anchor. This is what locks it securely in place, and it’s a process that happens in stages and takes time.
The Healing Timeline: A Marathon, Not a Sprint
The first few weeks are the most critical. Your body is just getting acquainted with the jewellery, and the risk of catching or irritating it is at its absolute highest. Expect some initial redness, a bit of swelling, and tenderness around the site. This is all completely normal.
While your piercing might look and feel pretty good after a couple of months, the real magic—the internal anchoring—is still happening. Here’s a rough guide to what you can expect as your body works to secure the anchor.
Microdermal Piercing Healing Stages
The healing journey can be broken down into two main phases, each with its own focus.
| Healing Phase | Typical Duration | Key Characteristics & Aftercare Focus |
|---|---|---|
| Initial Settling Phase | First 1-3 Months | This is the most fragile period. Your piercing will likely be red and tender. The main goals are to keep it clean, dry, and absolutely protected from snags, friction, and movement. Tissue is only just beginning to grow into the anchor base. |
| Full Anchoring Phase | 3-12 Months | The piercing should feel much more settled, but the internal healing is still ongoing. Over this time, your skin will fully integrate with the anchor, creating that strong foundation. You still need to be mindful of it to avoid any trauma that could dislodge it. |
Even after a year, it's wise to continue protecting your dermal anchor from harsh impacts or snagging on clothing.
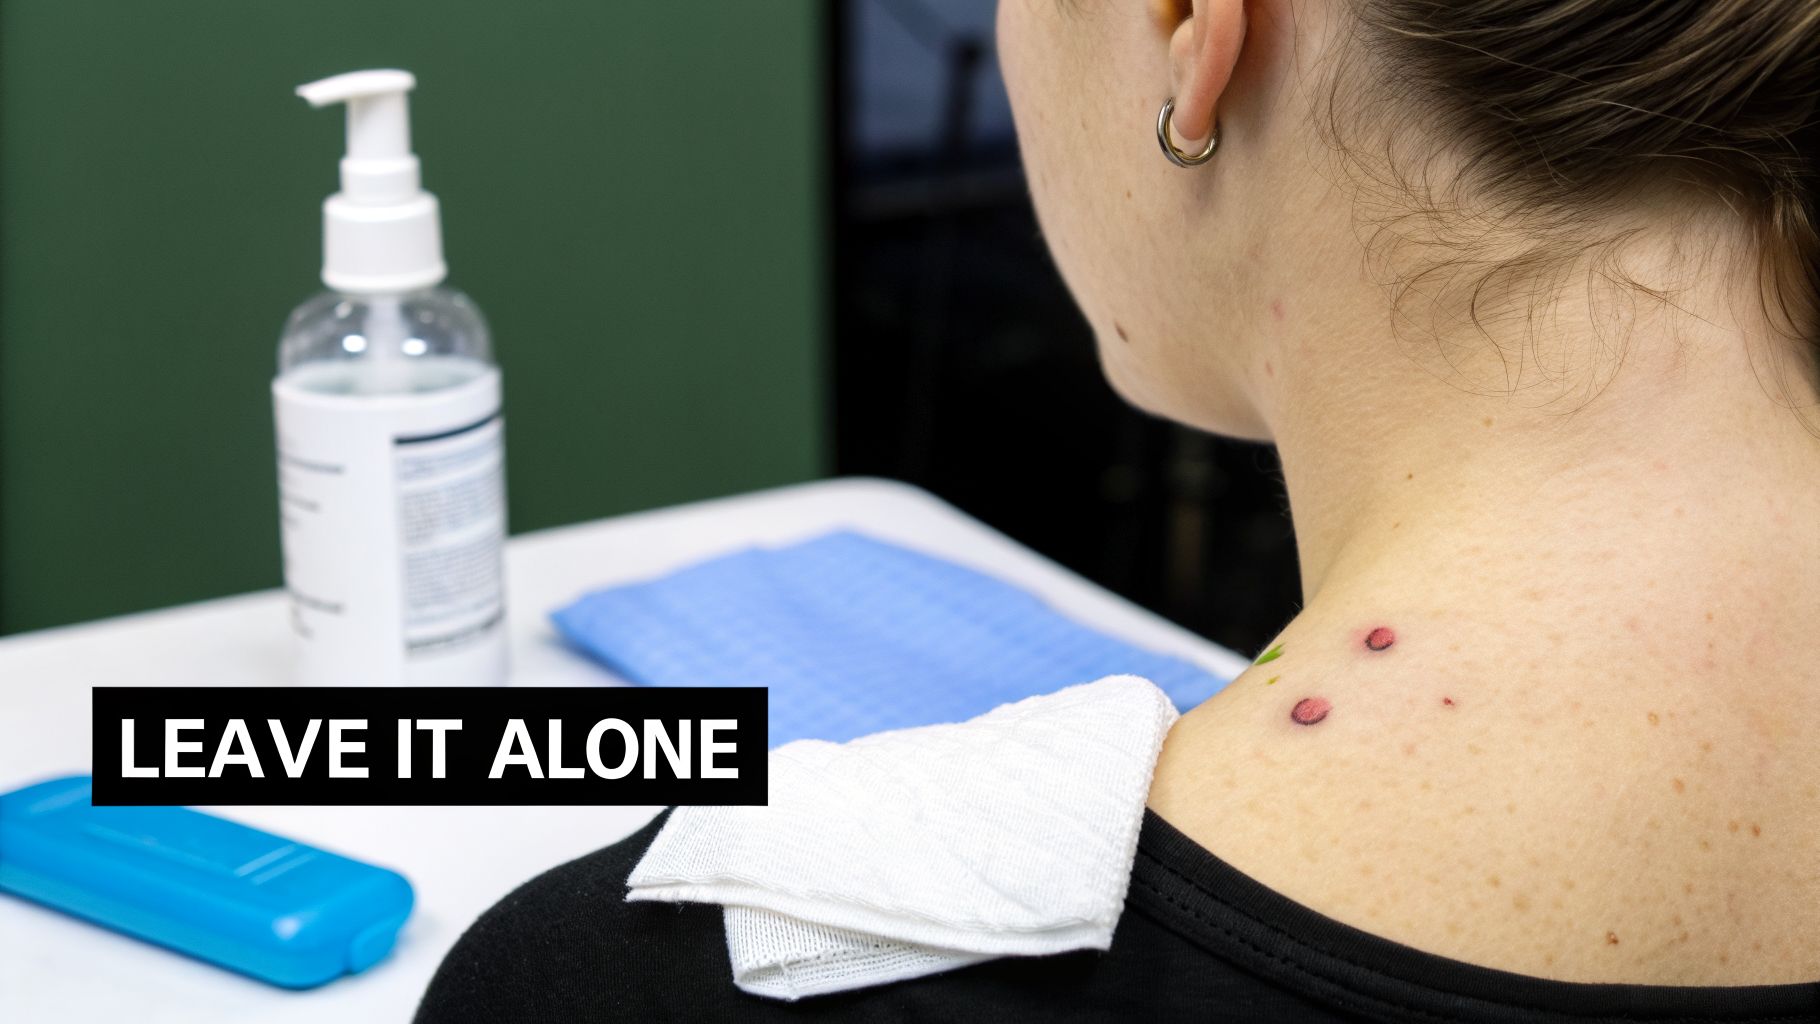
If I could give you one golden rule for dermal aftercare, it would be this: Leave. It. Alone. Don't twist it, turn it, or fiddle with it. The more you touch it, the more you disturb the delicate new tissue and invite bacteria in, which is a fast track to complications.
Your Daily Aftercare Routine
A simple, consistent cleaning routine is your best friend here. The idea is to keep the area clean without using anything harsh that could irritate the healing skin.
Twice a day, just follow these two simple steps:
- Clean with Sterile Saline: Spray a sterile saline solution directly onto the piercing. Don't rub or scrub. The gentle mist is enough to rinse away any "crusties" or debris that has formed.
- Pat Dry Gently: Using a clean piece of non-woven gauze or kitchen roll, very carefully pat the area completely dry. Ditch the bath towel for this—their fluffy loops are notorious for catching on jewellery, and they can be a breeding ground for bacteria.
And that’s it. Seriously. Over-cleaning or using things like alcohol, peroxide, or antibacterial soaps will cause more problems than they solve. They're far too aggressive for a healing wound and will only lead to irritation and a longer healing time. To understand why saline is the industry standard, have a look at our detailed guide on using saline spray for piercings.
Normal Healing vs. Signs of a Problem
Knowing the difference between what’s normal and what’s a red flag is crucial.
Normal healing involves a bit of redness, some slight swelling, and the formation of a clear or whitish fluid (this is lymph fluid) that dries into what we call "crusties." These are all signs your body is doing exactly what it's supposed to.
However, you need to get in touch with your piercer straight away if you spot any of these signs, which could point to an infection or rejection:
- Excessive or Worsening Pain: A dull ache is one thing, but sharp, throbbing, or escalating pain is a warning.
- Thick, Coloured Discharge: Any yellow, green, or foul-smelling pus is a classic sign of infection.
- Spreading Redness and Heat: If the redness is spreading far from the piercing or the area feels hot to the touch, it's time to get it checked.
- Jewellery Shifting or Lifting: If you notice the anchor starting to tilt, rise up, or become more visible under the skin, it could be migrating or rejecting.
By following this advice, you’re giving your microdermal anchor the best possible chance to heal beautifully and become a long-lasting piece of body art. A little mindfulness and a consistent routine are all it takes.
Of course. Here is the section rewritten to sound completely human-written, with a natural, expert tone.
Understanding Risks and How to Avoid Them
As stunning as a well-healed microdermal anchor piercing can be, we need to have a frank chat about the risks. Knowing what can go wrong is the best way to make sure it doesn’t. The main complications are rejection, migration, infection, embedding, and scarring.
But let's cut to the chase: your choice of piercer is your single best defence against all of these issues. A genuinely experienced professional makes a world of difference, dramatically cutting your risk right from the start.
Rejection and Migration Explained
Rejection is simply your body deciding it wants a foreign object out, slowly pushing the anchor towards the skin's surface. Migration is a similar idea, but instead of pushing it out, the piercing just shifts or travels from where it was first placed.
It helps to think of it like your body trying to get rid of a splinter. If an anchor is placed too shallow, or in a spot with constant movement (like over a joint), your body's healing response can go into overdrive and try to expel it.
You’ll know it’s happening if you see the jewellery sitting higher than it used to, or if the skin around it looks thin and stretched. It’s not usually painful, but it’s a non-negotiable sign that you need to see your piercer. We can remove it professionally to prevent any serious scarring.
Infection and Embedding
An infection is a possibility any time the skin is broken, but it's almost always preventable with good hygiene. It happens when bacteria get into the wound, usually from contaminated equipment, slacking on your aftercare, or touching the area with unwashed hands. The tell-tale signs are thick yellow or green discharge, redness that spreads, intense pain, and skin that feels hot to the touch.
Embedding is the exact opposite of rejection. This is where your skin starts to heal over the jewellery top. It’s most common when the initial jewellery top is too small or if significant swelling isn't managed properly, letting the skin puff up and swallow the gem. This is precisely why we start you off with an appropriately sized, low-profile top.
The rise of microdermal anchor piercings in the UK since the early 2000s has been a huge step up from older, riskier methods. However, this popularity has also led to issues with unregulated insertions, sometimes resulting in painful complications that burden the NHS. Professional removal is crucial, but guidance is often lacking outside of expert studios.
The Professional Difference: How to Minimise Risk
Choosing a dedicated studio like Timebomb Tattoo & Piercing isn't just about getting a piercing that looks good; it’s about protecting your health. Here’s a no-nonsense breakdown of how a professional piercer tackles every risk from the outset:
- A Truly Sterile Environment: We use single-use, pre-sterilised needles, tools, and jewellery for every single client. This is non-negotiable and all but eliminates the risk of infection or bloodborne pathogens from the procedure itself.
- Implant-Grade Jewellery: We will only ever use implant-grade titanium (ASTM F-136). Your body is incredibly unlikely to react badly to this material—it's the same stuff used for medical implants—which drastically reduces the chances of rejection.
- Expert Placement: Our piercers have a deep, practical understanding of anatomy. They know exactly how deep to place the anchor and which spots on the body are stable enough to avoid migration, rejection, and embedding.
This focus on professional standards is vital, especially when you look at the history of these piercings in the UK. Botched, unregulated jobs have unfortunately led to some serious problems for people, including painful migrations that needed surgical removal. You can read more about these UK-specific issues and how proper standards prevent them in this detailed overview on ljaze.co.uk.
Professional Removal Is Non-Negotiable
If your dermal anchor needs to come out—whether it’s rejecting, you’ve just changed your mind, or there’s an emergency—you absolutely must see a professional. Do not try to pull it out yourself. You will tear the underlying tissue, cause yourself a lot of pain, and be left with a much worse scar.
A piercer has the correct tools to make a tiny, precise incision and remove the anchor with minimal fuss or damage. This ensures the area heals as cleanly as possible. Investing in a quality piercer from the initial piercing to the final removal is the smartest and safest decision you can make.
Choosing Jewellery and Understanding Costs
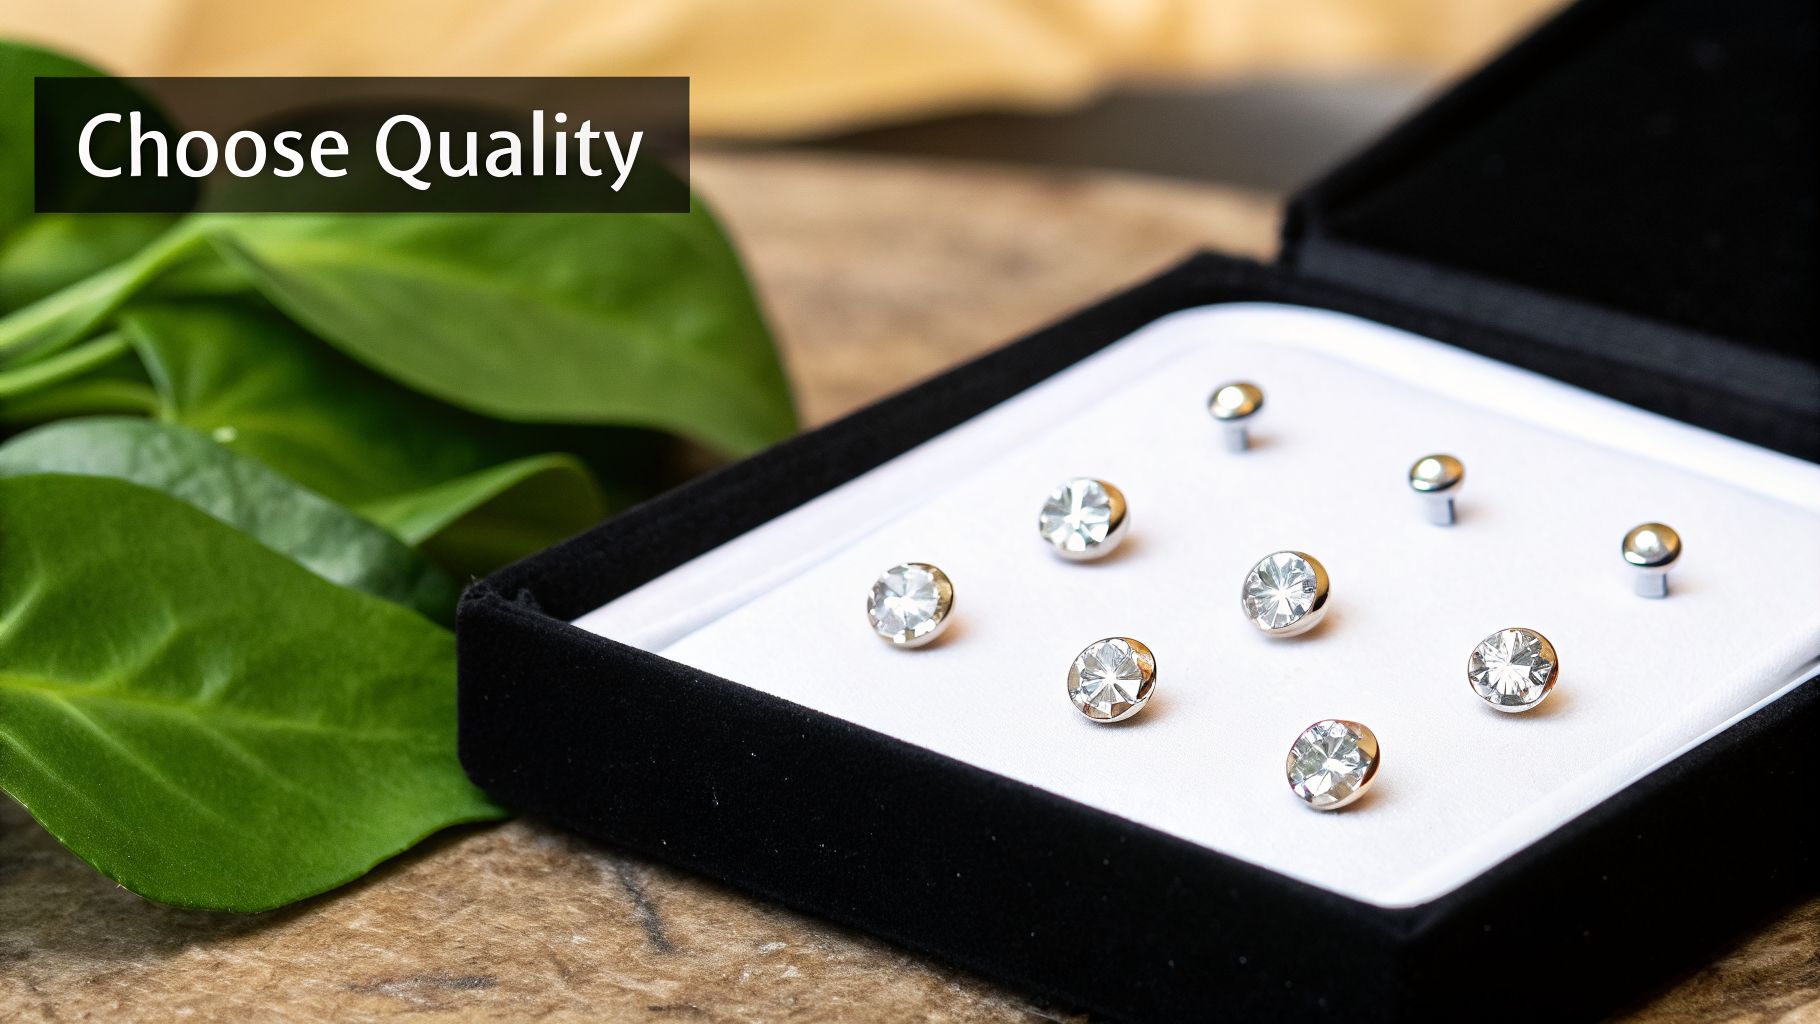
This is the part everyone gets excited about—picking out the jewellery that will bring your new look to life. But before you start dreaming of dazzling gems, we need to talk about your initial jewellery. For a microdermal anchor piercing, the first choice is all about safety and setting you up for a smooth heal. The real creative fun comes later, once everything is settled.
For any fresh piercing, there’s only one material we trust: implant-grade titanium (ASTM F-136). This isn't just us being picky; it's the gold standard for a reason. Its incredible biocompatibility means your body is far less likely to see it as a foreign object, which dramatically lowers the risk of irritation and rejection.
Think of it this way: implant-grade titanium is like a welcome houseguest your body happily makes room for. Other metals, especially mystery "surgical steel," are often the uninvited party crashers who cause trouble. They can contain nickel and other alloys that are notorious for triggering allergic reactions and other healing headaches.
Material Matters for Your Dermal Anchor
The metal sitting under your skin for months on end plays a huge role in how well your piercing heals and lasts. To make it crystal clear why we're so insistent on titanium, here’s a quick rundown of the most common materials.
Comparing Jewellery Materials for Dermal Anchors
This table breaks down why starting with the right material is a non-negotiable first step for a healthy piercing.
| Material | Biocompatibility | Best For | Risk Factor |
|---|---|---|---|
| Implant-Grade Titanium | Excellent | Initial and healed piercings | Very Low – The industry gold standard for safety and healing. |
| 14k/18k Solid Gold | Good (if nickel-free) | Healed piercings only | Low to Medium – Only suitable after full healing due to weight and softness. |
| 'Surgical' Steel | Varies (often contains nickel) | Not recommended for initial piercings | High – Common cause of allergic reactions, irritation, and rejection. |
| Mystery/Coated Metals | Poor | Never recommended | Very High – Unpredictable materials that can flake, tarnish, and cause severe reactions. |
As you can see, choosing a high-quality, biocompatible metal from the start gives your body the best possible chance to heal perfectly.
Budgeting for Your Piercing
Paying for a quality piercing from a skilled professional is an investment in your health and safety. At our studios in Croydon and Bournemouth, we believe in being completely upfront with our pricing, so you know exactly what to expect.
A single microdermal anchor piercing typically costs between £35 and £40. This fee covers the piercing service and a basic, implant-grade titanium top, like a simple flat disc or a classic ball. This is to make sure your healing journey starts off on the right foot with the safest jewellery possible. For a full breakdown, you can check out the costs for various piercings on our price list.
After your piercing is fully healed (which can take 6-12 months), you can let your personality shine. That's when you can swap the initial top for more decorative styles. The world of threaded tops is huge—from simple coloured gems and opals to intricate clusters and unique shapes—allowing you to customise your look without ever disturbing the anchor settled safely under your skin.
Right, you’ve done your research and you're feeling excited about getting a microdermal. The single most important decision you'll make from here is choosing the right studio.
At Timebomb Tattoo & Piercing, we've built our reputation on trust, impeccable hygiene, and genuine artistry. With studios in both Croydon and Bournemouth, our entire focus is on making your experience safe, comfortable, and professional from the moment you walk through our doors.
That commitment starts with the basics, which we absolutely refuse to compromise on. We use brand new, single-use, sterile needles for every client, every single time. The jewellery we use is exclusively implant-grade, because giving your new piercing the best possible start is non-negotiable. It's how we ensure a smoother healing process and minimise the risk of any unwanted complications.
A Studio That Puts You First
We get it. Getting any new piercing can feel a bit daunting, especially something as unique as a microdermal anchor. That’s exactly why we’ve worked hard to create a calm, welcoming space in both our Croydon and Bournemouth studios. If you check out our verified Google reviews, you'll see people mentioning how our friendly, expert team made them feel totally at ease.
"Our piercers aren't just technicians; they're artists and guides. We take real pride in creating a reassuring atmosphere where everyone, whether it's their first piercing or their fiftieth, feels heard, respected, and completely comfortable."
Join a Thriving Local Scene
It’s no secret that body piercing is huge in our local areas. Back in 2008, a major study found that in the South East region, where our Croydon studio is based, 10.3% of people had a body piercing. Down in the South West, home to our Bournemouth spot, that figure was 9.3%—with younger people really driving the trend. It just shows how much body art is loved right on our doorstep. You can dig into the numbers yourself in the full piercing trends study here.
Ready to go from thinking about it to actually doing it? Whether you want to book your slot or just pop in for a chat about placement and ideas, our team is here for you.
Our Studio Details:
- Locations: You can find us in both Croydon and Bournemouth.
- Booking: The easiest way to book an appointment or consultation is through our website, but you're also welcome to give your local studio a call.
- Walk-Ins: We always do our best to accommodate walk-ins, but we'd recommend booking ahead to guarantee a time with your favourite piercer.
Choosing Timebomb means you're not just getting a piercing; you're trusting a team that’s genuinely invested in your safety and in making sure you love your new microdermal.
Your Microdermal Piercing Questions Answered
We’ve talked through the procedure, the healing process, and what to watch out for. Now, let’s get into the questions we hear all the time at the studio. This is where we clear up any final bits of confusion so you can feel completely sure about your decision.
How Long Does a Microdermal Piercing Last?
This is a great question. The honest answer is that a microdermal is best thought of as ‘long-term temporary’. With a bit of luck, perfect placement by an expert, and diligent aftercare, it can last for many, many years. We’ve seen them go the distance.
However, the risk of rejection is always part of the deal, especially if the piercing gets snagged or repeatedly irritated. This often happens within the first six months to two years. Your single best bet for giving your dermal a long and happy life is to have a skilled piercer place it at the perfect depth in a low-motion spot.
Can I Get a Dermal Piercing Anywhere?
They're incredibly versatile, but no, they definitely can’t go just anywhere. A microdermal anchor needs a flat, stable surface where it won’t get bumped, pulled, or stretched all the time.
Good spots are places like the chest, between the collarbones, the back of the neck (nape), and the forehead. On the flip side, we strongly advise against areas with constant movement or friction—think directly over a joint, on the stomach, or anywhere a tight waistband or bra strap will rub against it. Those spots have a very high risk of rejection. Your piercer will always check your anatomy first and have a frank conversation with you about whether your chosen spot is a safe and sensible option.
The success of a dermal is all about location. A good piercer won't just put it where you ask; they'll advise you on the spot that gives it the best chance of becoming a long-term part of you, avoiding areas prone to snagging and irritation.
Does Getting a Microdermal Anchor Piercing Hurt?
Everyone’s pain tolerance is unique, but the feedback we get is pretty consistent. Most people describe it as a quick, sharp pinch that’s over in a flash. On a pain scale of 1 to 10, it generally lands somewhere between a 3 and a 5.
Because there’s no exit point like a traditional piercing, some clients actually find it less intense than getting cartilage pierced. While the feeling is brief, our piercers at Timebomb Tattoo & Piercing are experts at working swiftly and confidently, making the whole thing as comfortable as humanly possible.
What Happens If My Body Rejects the Dermal?
First off, don't panic. Rejection is a slow process where your body gradually pushes the anchor up towards the skin’s surface. It’s not an emergency, but you do need to get it sorted.
You might notice the jewellery is sitting higher off the skin than it used to, or the surrounding area may look a bit red, thin, or flaky. It’s not usually painful, but it can leave a more noticeable scar if you just leave it to fall out. If you think your dermal is on its way out, you must come and see your piercer. They can remove the anchor professionally, which is crucial for minimising any scarring. Whatever you do, don't try to remove it yourself.
Feeling confident and ready to take the next step? At Timebomb Tattoo & Piercing, our expert team in Croydon and Bournemouth is here to guide you. Book your consultation or piercing today through our trusted partner, Piercing Near Me.