
A helix piercing is a cartilage piercing on the upper outer rim of the ear, and UK clinical evidence places cartilage piercings in a higher-risk infection group, with 41.4% compared with 29.6% for earlobe piercings. Cartilage has a poorer blood supply than the lobe, which is why a helix needs more patience, gentler care and better pressure management.
You might be scrolling through a piercer's portfolio, stopping at a neat little stud halfway up someone's ear, and wondering whether it hurts like a lobe piercing. The initial appointment is usually brief, but the commitment lasts much longer. A helix isn't just a quick cosmetic add-on. It's a wound through cartilage that can remain sensitive to sleeping, headphones, hair and accidental knocks while it heals.
What a Helix Piercing Actually Is
A helix piercing is one hole made through the cartilage along the upper outer rim of the ear. The helix is the curved edge you can trace from the middle of the outer ear upwards, rather than the soft, fleshy lobe below it.
That difference in tissue explains nearly everything that follows. The earlobe is soft and well vascularised, while cartilage has a much poorer direct blood supply. Cartilage receives oxygen and nutrients through surrounding tissue, and it doesn't contain muscle of its own. As a result, the body generally repairs a helix more slowly than a standard lobe piercing.
Why the tissue changes the experience
You may feel a sharper, firmer sensation when the needle passes through cartilage. The more important difference often appears afterwards. A lobe might settle fairly quickly, but a helix can become tender again after a night of pressure, a hair snag or a headphone rubbing against it.
UK-facing clinical guidance places full helix healing in the 6 to 12 month range, with sterile saline care and avoidance of pressure or jewellery rotation forming the basis of aftercare. You can read the UK guidance on Pseudomonas aeruginosa and ear-piercing perichondritis.
Practical rule: If you'd struggle to protect one ear from pressure and friction for several months, plan around that before booking.
The piercing's position also affects the angle, the jewellery a piercer can fit and how easily it catches on hair or clothing. A skilled piercer assesses your ear rather than copying a picture from somebody else. Your rim may be thicker, flatter, more curved or shaped differently, so the same placement won't look or heal identically on every person.
Anatomy and Placement Variations on the Upper Ear
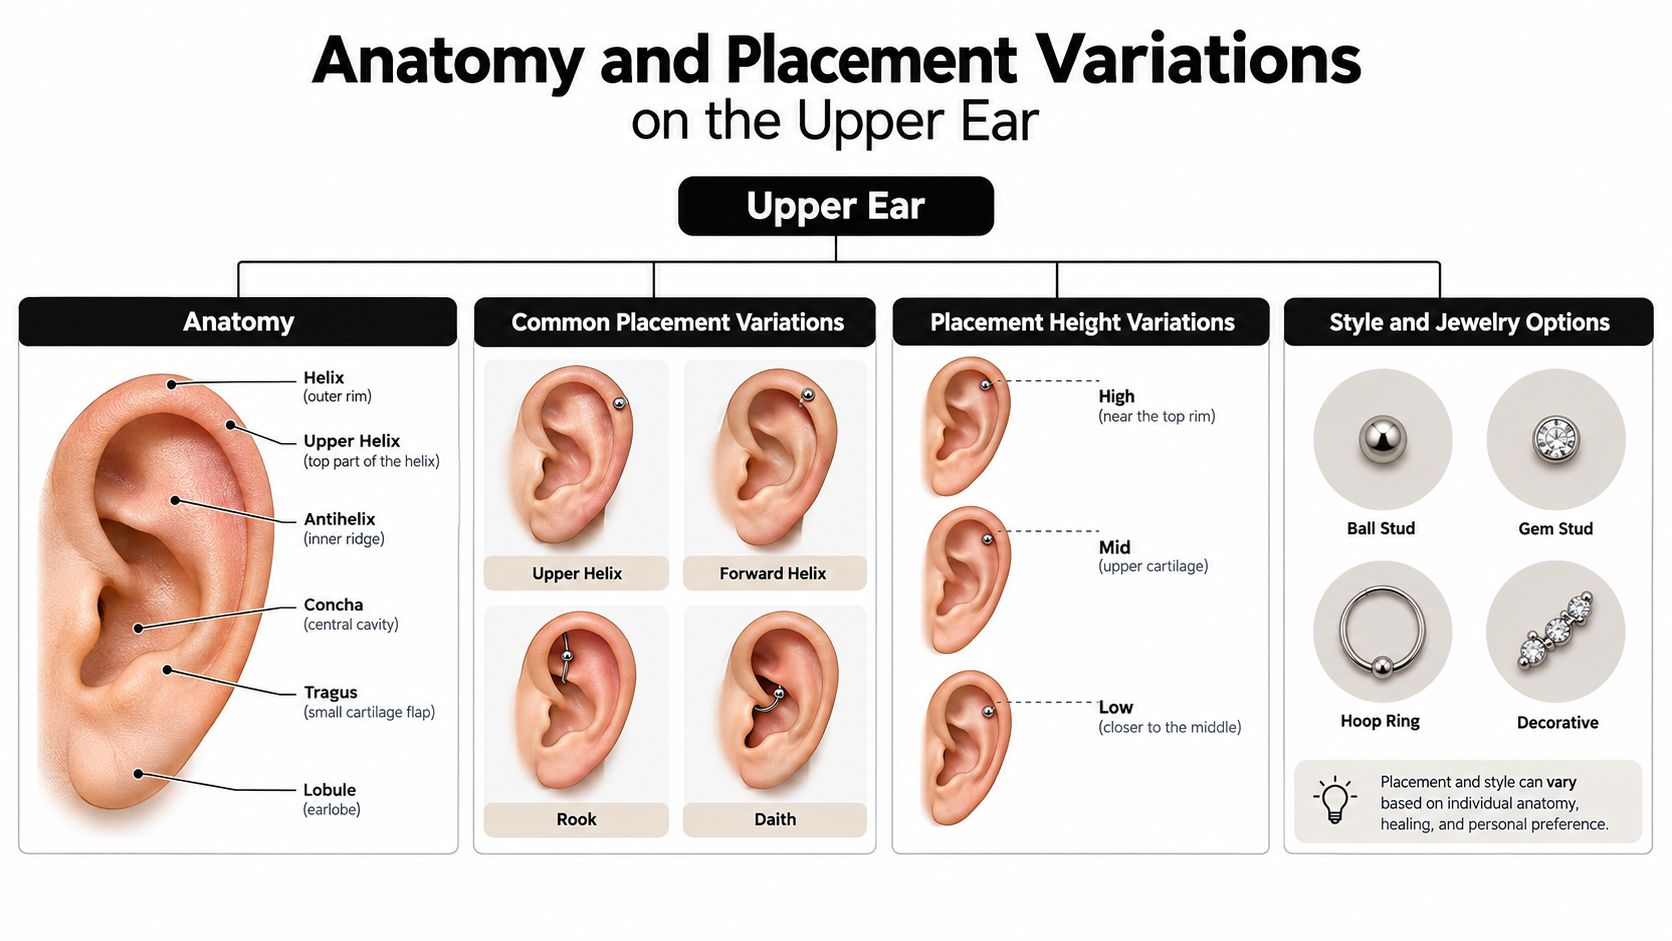
The outer ear has several ridges and planes, and “helix” can describe more than one position. Understanding the map helps you explain what you want instead of pointing vaguely at the top of your ear.
A standard helix sits on the upper outer rim. It's the familiar placement shown in many jewellery photographs, usually with a small flat-back stud. Because it offers room for subtle jewellery or a future ear stack, it's often considered a flexible first cartilage option.
Four placements you may hear in a UK studio
- Upper helix: This sits higher on the outer curve, closer to the top of the ear. It can look delicate with a single stud, or form part of a vertical arrangement if your anatomy allows enough space.
- Lower helix: This is nearer the lobe, where the rim may feel thicker and more substantial. It still passes through cartilage, so the softer location doesn't make it a lobe piercing.
- Forward helix: This goes through the small ridge where the upper rim turns towards the face, above the tragus. It's commonly styled as one stud, with matching pairs or a small group possible when the anatomy provides suitable room.
- Flat: A flat piercing sits on the flatter, inner-facing plane of the upper ear rather than directly on the raised outer rim. It can carry a decorative end, but the angle of the ear determines whether the jewellery sits neatly or appears to tilt.
Placement affects fit
A rim that curves sharply may need a different post length or hoop diameter from a flatter ear. Forward helix tissue can also leave less space for bulky jewellery, while a flat placement may suit a larger decorative end if it doesn't press against the head or surrounding ridges.
Ask the piercer to mark the proposed position while you're looking in a mirror. A useful helix piercing placement guide can help you compare positions before your consultation, but the final mark should be based on your ear's structure, intended jewellery and daily habits.
Jewellery Options for Helix Piercings
For a fresh helix, most professional piercers favour a flat-back labret. It has a smooth disc behind the ear instead of a butterfly back, so there's less hardware to press into your skin when you sleep. The front can be a simple ball, a gemstone or a decorative threadless end.
A piercer chooses the post length to allow for expected swelling and the thickness of your cartilage. The correct gauge and length depend on the placement and your anatomy, so don't order a replacement by appearance alone. Implant-grade titanium is a commonly suitable starting material, while solid 14k or higher gold may also be appropriate when it meets professional jewellery standards.
Comparing common styles
| Jewellery Style | Best For | Key Advantage | Main Trade-off |
|---|---|---|---|
| Flat-back labret | Fresh and healing helix piercings | Low-profile back reduces pressure | The initial post may look longer while swelling settles |
| Threadless stud | Minimal, neat styling | The end can be changed by a professional without a threaded front | Decorative ends still need a secure, well-fitted post |
| Captive bead ring | Fully healed placements | Classic hoop appearance | Movement can create friction through the channel |
| Seamless hoop | Fully healed minimalist styling | Clean, continuous circle | Rotation and fit depend heavily on anatomy |
| Clicker hoop | Healed piercings and easier future changes | Hinged closure feels secure and is simple to handle | The hinge must sit in a position that doesn't rub the ear |
Hoops are attractive, but they move more than studs. That movement can drag dirt and bacteria through the healing channel, so a piercer will usually recommend waiting until the tissue has settled. Even after healing, a hoop needs the right diameter and angle. A ring that's too tight can press constantly on the rim, while one that's too loose can catch on hair and clothing.
For more detail on choosing a ring, see this guide to helix piercing with a hoop. The sensible starting point is simple: start flat, then swap later, once a piercer confirms that the piercing is ready.
Healing Time and Real-Life Friction
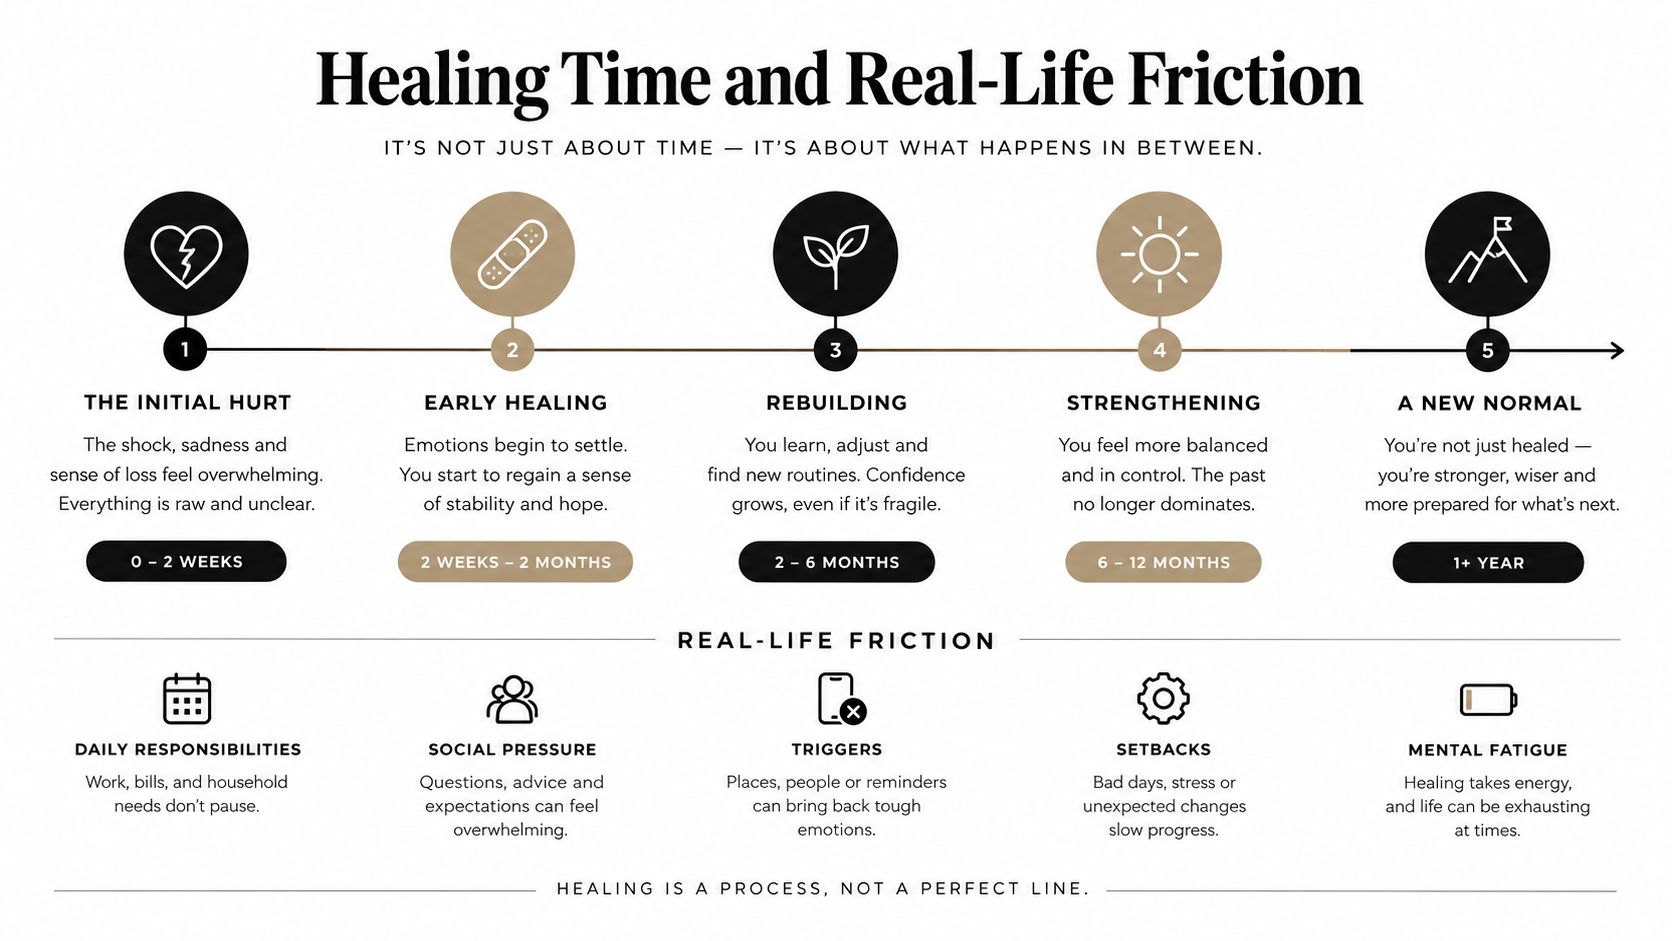
Plan for a 6 to 12 month healing period for a helix, as reflected in UK-facing guidance and aftercare information. The outside may look calm well before the internal tissue has finished repairing, so “it feels fine” doesn't automatically mean it's ready for a jewellery change.
The first 6 to 8 weeks are often described as an early surface-healing stage, while deeper tissue remodelling can continue through the longer healing window. These figures should be treated as a practical range rather than a promise. A piercing that has been slept on, snagged or repeatedly irritated may take longer.
Build your routine around pressure
Sleeping is one of the biggest challenges. Side sleepers can use a travel pillow with the ear resting in the opening, or deliberately sleep on the opposite side. Night-time compression and rotation commonly trigger setbacks, particularly once the initial excitement has faded and the piercing becomes easy to forget.
Consider these everyday adjustments:
- Headphones: Use the unpierced side where possible, and avoid over-ear cups that press against the upper ear.
- Hair: Wear loose braids or tie hair back while brushing, drying and changing clothes.
- Hats and hoods: Choose loose-fitting options that don't drag over the jewellery.
- Glasses: Check whether the arm of your glasses touches the placement.
- Sport: Review helmet straps and protective equipment before booking.
- Swimming: Avoid exposing a fresh wound to swimming water until your piercer or healthcare professional advises that it's appropriate.
As swelling reduces, the original post may look longer. A professional downsize, replacing it with a shorter post when suitable, reduces snagging and excess movement. Downsizing is part of responsible healing, not merely a styling appointment.
Aftercare Basics for a Healthy Helix
Keep helix aftercare boring and consistent. UK-facing guidance commonly recommends cleaning with sterile saline twice daily, then leaving the jewellery alone between those cleans.
A simple routine
- Wash your hands before going near the ear.
- Apply room-temperature sterile saline as a compress for a few minutes.
- Let softened crusting rinse away naturally. Don't pick at it.
- Pat the area dry with clean, non-woven gauze.
- Keep the jewellery still and avoid pressure afterwards.
A suitable saline product should be made for wound care, rather than a homemade mixture that may be too strong or contaminated. The aim is to support the body's healing process, not scrub the piercing until it feels stripped and sore. UK helix aftercare guidance also advises keeping the area dry after cleaning and not twisting or rotating the jewellery.
What to leave out
- Twisting and rotating: This can tear delicate new tissue and move bacteria into the channel.
- Alcohol and hydrogen peroxide: These are harsh and can irritate or damage healing tissue.
- Neat tea tree oil: Concentrated essential oil can cause further irritation.
- Antibiotic creams: Don't apply them unless a healthcare professional specifically directs you to.
- Over-cleaning: More than twice daily can leave the area dry, inflamed and slower to settle.
Keep hair products, skincare and cosmetics away from the piercing where practical. Change pillowcases regularly, keep hair controlled and don't touch the jewellery with unwashed hands.
A small irritation bump is often close to the entry point and may be painless. Infection is more concerning when redness spreads, the area becomes increasingly warm or throbbing, and discharge turns yellow or green. If symptoms are worsening rather than gradually settling, contact your piercer and seek medical advice.
Risks, Warning Signs, and When to Seek Help
A helix infection isn't a lobe infection in a higher position. Cartilage has poorer blood supply, and UK public-health guidance warns that upper-ear infections can develop into auricular perichondritis, an infection affecting the tissue around the cartilage. If treatment is delayed, the ear can be damaged or distorted.
The UK evidence base also reports that body-piercing training isn't covered by nationally recognised or accredited training courses, making it important to check the studio, the piercer's hygiene practices and the quality of the aftercare you receive. The UK infection-prevention guidance for tattooing and body piercing explains why technique, equipment and prompt action matter.
Signs that need prompt attention
Contact a piercer for assessment and seek medical help promptly if you notice:
- Spreading redness: Redness extending beyond the immediate piercing site is more concerning than mild local irritation.
- Increasing heat and swelling: A hot, progressively swollen ear needs attention.
- Throbbing or escalating pain: Worsening pain after the early tenderness has passed shouldn't be ignored.
- Yellow or green discharge: This is different from small amounts of pale crusting.
- Fever or feeling unwell: These symptoms require medical advice.
- Altered shape: A cartilage area that looks distorted needs urgent assessment.
Do not remove the jewellery automatically. The channel can close around an infection and trap it inside, so ask a healthcare professional or experienced piercer what to do first.
Go straight to A&E if you feel seriously unwell, develop rapidly worsening swelling or pain, have a high temperature with spreading redness, or notice sudden distortion of the ear. Don't wait for a studio appointment when systemic symptoms or fast progression are present.
A piercer can assess placement, pressure and jewellery fit, but they can't replace a GP or hospital clinician. When infection is suspected, medical treatment takes priority.
Booking Checklist Before You Sit in the Chair
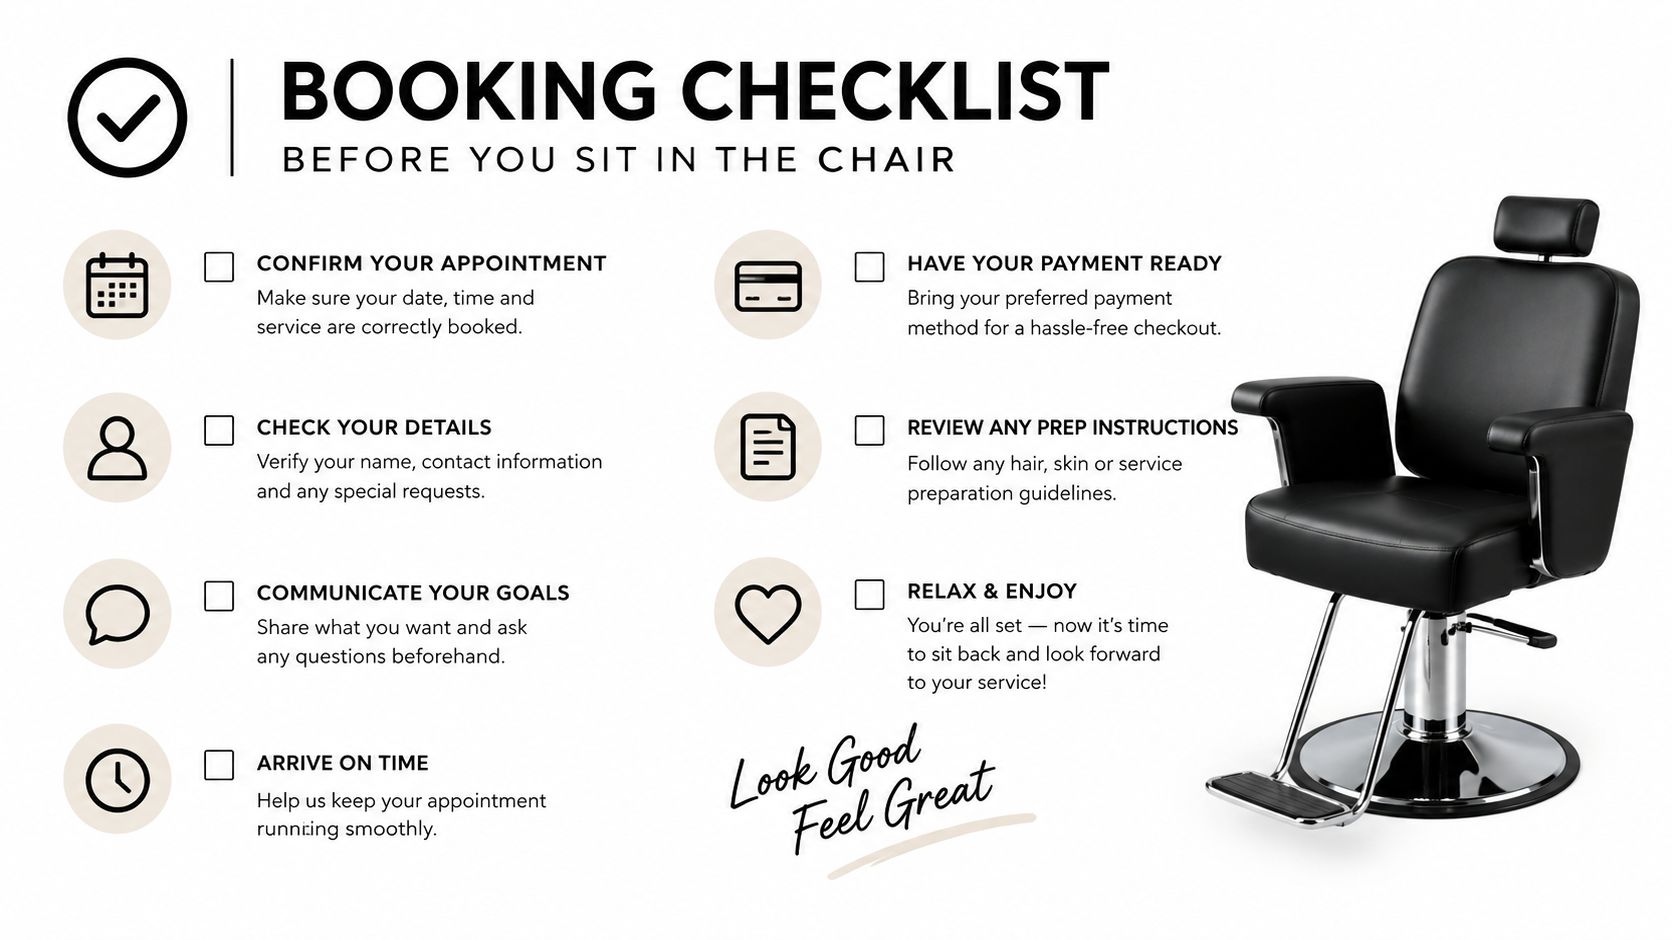
Use the consultation to test whether the studio treats a helix as a healing wound rather than a quick sale. Bring reference images, but expect the piercer to adjust the position to suit your ear, jewellery and lifestyle.
Before you book
- Confirm the placement: Decide whether you mean upper helix, lower helix, forward helix or flat, then ask what your anatomy can support.
- Choose a healing-friendly style: Discuss a flat-back labret, post length, gauge and implant-grade titanium or suitable solid gold.
- Check local registration: Ask whether the studio is registered with its local authority.
- Inspect sterile practice: You should see single-use needle packaging and appropriate sterilisation procedures.
- Ask about testing: Request to see the autoclave spore test log if the studio uses an autoclave.
- Get written aftercare: Instructions should cover saline, pressure, jewellery changes and warning signs.
On the day, expect consent paperwork and a discussion of risks. The piercer should mark the placement while you check it in a mirror, explain the jewellery choice and provide aftercare information you can refer to at home. A reputable helix piercing studio guide can help you compare booking options before committing.
The next several months should be treated as a care plan. Early swelling may require the initial post, later assessment may identify the right time to downsize, and styling changes should wait until the tissue is properly healed. Sleeping habits, headphones, hair and sport all remain part of the decision long after the appointment.
If you'd like to discuss placement or jewellery before booking, Piercing Near Me connects clients with professional piercing services and guidance for studios in Croydon and Bournemouth. Visit Piercing Near Me to explore helix options, arrange a consultation and prepare for the aftercare that cartilage demands.