
You're looking at your protruding belly button in the mirror, one hand on your phone and several conflicting forum answers open on the screen. One person says an outie can never be pierced. Another posts a photo that seems to prove the opposite. The uncertainty is understandable, but a belly button piercing with outie anatomy can't be judged responsibly from a photograph or a simple yes-or-no rule.
The useful question is which outie anatomy can safely host jewellery. A professional piercer needs to check the tissue around the projection, especially whether there's a stable, pinchable fold above or below it. The centre of the bump may not provide a safe channel, while the surrounding skin might, or might not, support a secure placement.
This guide explains what that assessment involves, why placement may differ from a saved inspiration photo, how jewellery and clothing affect healing, and what a proper consultation should cover. A reputable studio will decline unsuitable anatomy rather than improvise a risky placement. That decision protects you.
The Question Most Outie Owners Ask First
You may arrive at a studio having compared navel photos and saved one that looks similar to yours. The question is usually, “Can you pierce my outie?” A photograph can suggest a possibility, but it cannot decide whether your anatomy can safely hold jewellery.
An outie is not an automatic refusal. It is a reason for a closer assessment. The relevant question is which outie anatomy can safely host a piercing, based on the tissue around the projection, the available fold, and how that tissue behaves when you sit, bend and wear everyday clothing.
Why photographs can't settle it
A picture shows the surface, not tissue depth, flexibility or pressure. It cannot show whether a fold remains open when your abdomen relaxes into a seated position, or whether the jewellery would be pressed against the protrusion.
Outies vary. Some have a clear fold above or below the navel. Others have a shallow fold, or tissue that does not create a stable upper or lower ridge. A qualified piercer should examine your anatomy in person and select placement accordingly, rather than apply one technique to every navel. UK research on navel piercing complications supports the need for careful screening, although it did not classify navels by innie or outie shape.
The reassuring answer: A professional saying no can show that they are assessing risk properly, not that they lack skill.
What you should expect from the conversation
Ask where the proposed entry and exit points would sit, what jewellery profile is suitable, and how the placement would behave while you are seated. The piercer should explain how they assess clearance and what they would do if the tissue cannot support the planned channel.
Possible outcomes include a fold above or below the navel, an alternative piercing, or no piercing at all. The decision should follow your anatomy, not the trend photo saved on your phone. A reputable piercer should be comfortable explaining that decision clearly before any needle is used.
What an Outie Means for Piercing
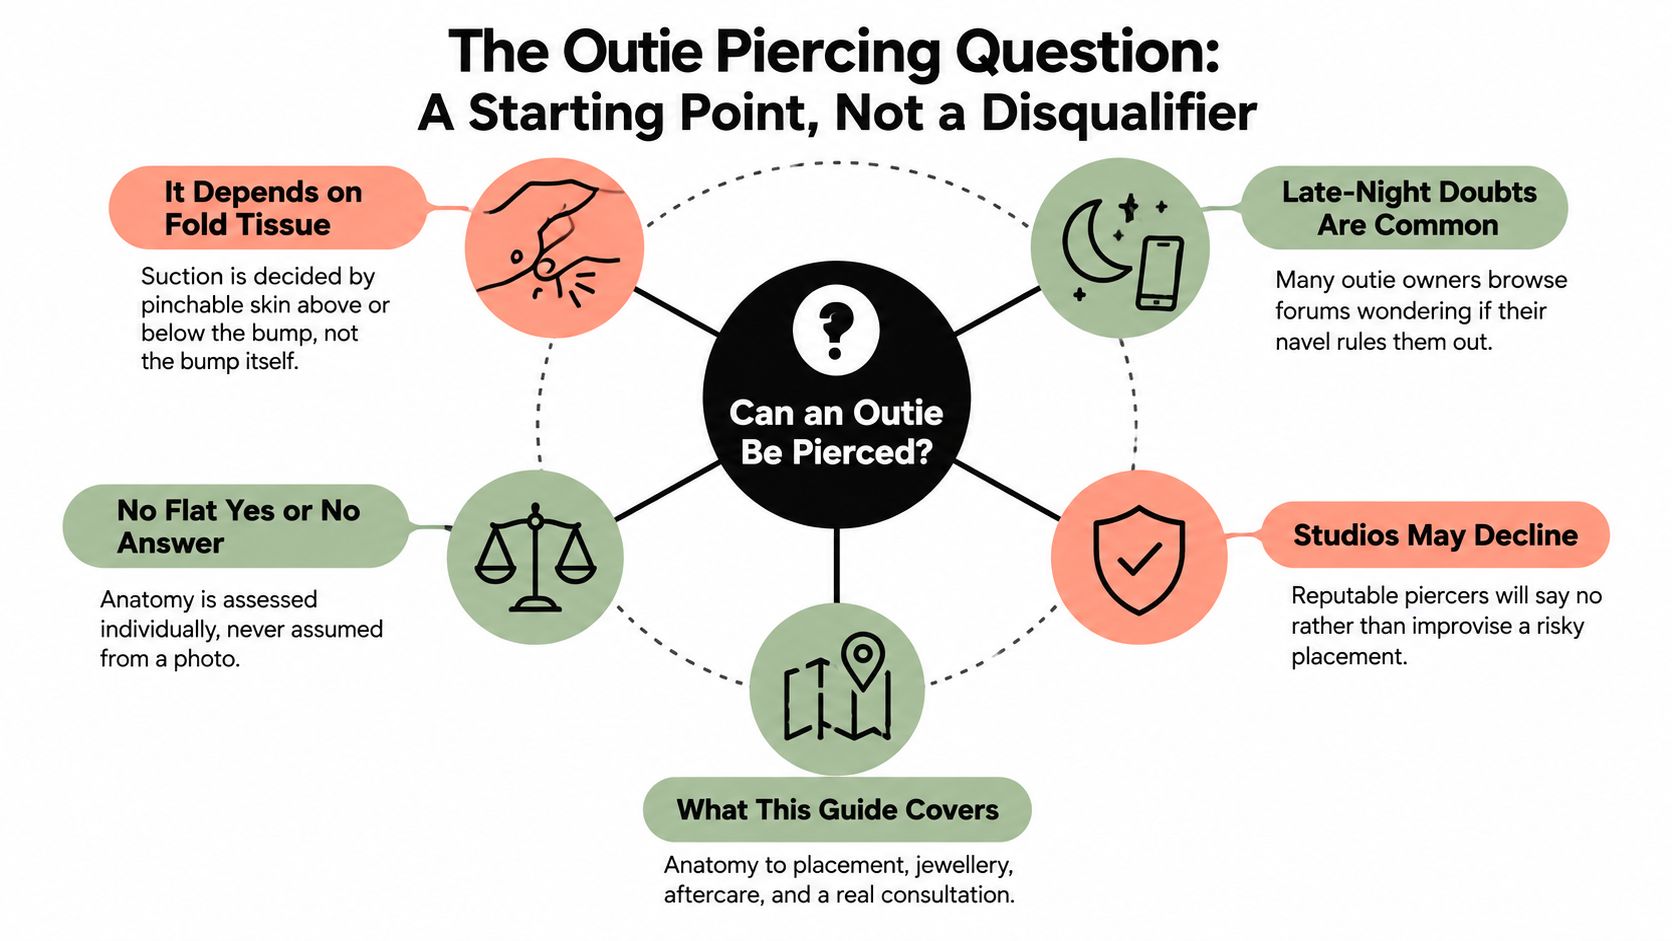
An outie's visible projection may involve tissue within or connected to the umbilical opening. That can leave less predictable, compressible skin for a jewellery channel than expected. The bump itself is usually not the part a piercer should pierce.
A useful comparison is a tent peg rising from a groundsheet. Pushing a bar through the peg does not create a stable anchor in the surrounding fabric. The piercer needs to find a fold with enough tissue to hold the jewellery without the abdomen repeatedly pressing, folding or pulling against it. The key question is which outie anatomy can safely host a piercing.
The standing and sitting assessment
A reputable consultation should examine your navel in several positions, rather than relying on a quick look while you stand. The piercer should:
- Stand you upright to assess the projection and identify any defined fold above or below it.
- Check you while sitting to see whether that fold stays open, compresses or disappears.
- Ask you to bend and assess whether the proposed jewellery would be pushed into your abdomen or caught in a crease.
- Gently assess the tissue to judge whether it can support a channel and leave the jewellery enough room to move.
Tissue that is unsuitable may feel very thin, flatten under gentle pressure or leave the jewellery resting directly against the protrusion. A fold that looks workable while standing can collapse when you sit, creating pressure during ordinary movement.
Why the centre needs caution
A UK body-jewellery guide to belly bars explains that piercing the protruding centre of an outie can be anatomically difficult and may increase infection risk. An independent UK professional-piercing explanation also says protruding navels are unsuitable in most cases.
Each outie still needs individual assessment. The piercer should identify a stable fold instead of using the visually obvious centre as the default entry point. Home kits and photographs cannot show how the tissue behaves under movement. If no fold offers enough support and clearance, declining the piercing is safer than forcing a channel through compressed or unstable tissue.
Placement Options and Their Trade-Offs
You may arrive expecting a standard upper navel piercing, then find that your outie needs a different plan. Placement follows the fold your anatomy can support, not the jewellery style shown online. An upper fold may give one client a stable anchor, while a lower fold may give another better clearance. Some navels cannot safely support either option.
The abdomen changes shape as you sit, stand and bend. Waistbands add pressure from outside, while the navel fold can close from within. A placement that looks balanced in a photograph may press, catch or become unstable during ordinary movement.
Above the ridge
A traditional upper-fold placement may work if there is enough tissue above the outie and the fold stays stable when you are seated. The jewellery needs space to sit without levering against the projection or becoming trapped beneath clothing.
This is the position many people have in mind when searching for a belly button piercing with outie anatomy. The upper tissue must form a secure channel, rather than only look suitable from the front. Before piercing, a professional may mark the entry and exit points so you can check the proposed angle and position while standing and sitting.
Below the ridge
A lower-fold placement can suit shallower upper anatomy when the lower tissue has more depth and experiences less compression. It still requires the same screening. Choosing the lower fold only to avoid admitting that the upper fold is unsuitable can leave the jewellery under similar pressure elsewhere.
The piercer should assess the proposed position as you bend and sit. If the lower fold presses into clothing, or the bar becomes trapped inside the navel, repeated irritation may encourage migration and prolong healing. A usable fold should leave the jewellery room to move without acting like a lever.
Surface placement as a last resort
A surface placement around the navel uses flatter tissue instead of a natural fold. Because the abdomen flexes and clothing can rub across it, this arrangement may be more prone to migration or rejection. The jewellery can gradually move towards the surface, while the skin between the openings becomes thinner.
A reputable piercer may decline this option rather than present it as an equal substitute for a traditional navel piercing. A 2008 England survey of 10,503 adults reported that navel piercings made up roughly 33% of 1,940 reported non-earlobe piercings, and about one-third of reported piercing complications involved navel piercings. The survey did not show that outie anatomy causes complications, but it supports careful attention to placement and tissue stability.
Review these practical navel piercing tips before your consultation. The safest location may differ from your original plan, because the deciding factor is the fold your body can support.
Choosing Jewellery That Respects the Anatomy
Once a placement looks viable, jewellery becomes part of the safety decision rather than a separate fashion choice. The bar needs enough room for early swelling, but it mustn't be so long that it catches on waistbands or swings against the outie.
For a fresh piercing, a professional may recommend implant-grade titanium because it's suitable for many clients and allows the piercer to use a well-finished piece without introducing unnecessary material concerns. Jewellery should be internally threaded or threadless, smooth and appropriate for a healing channel.
Fit matters more than decoration
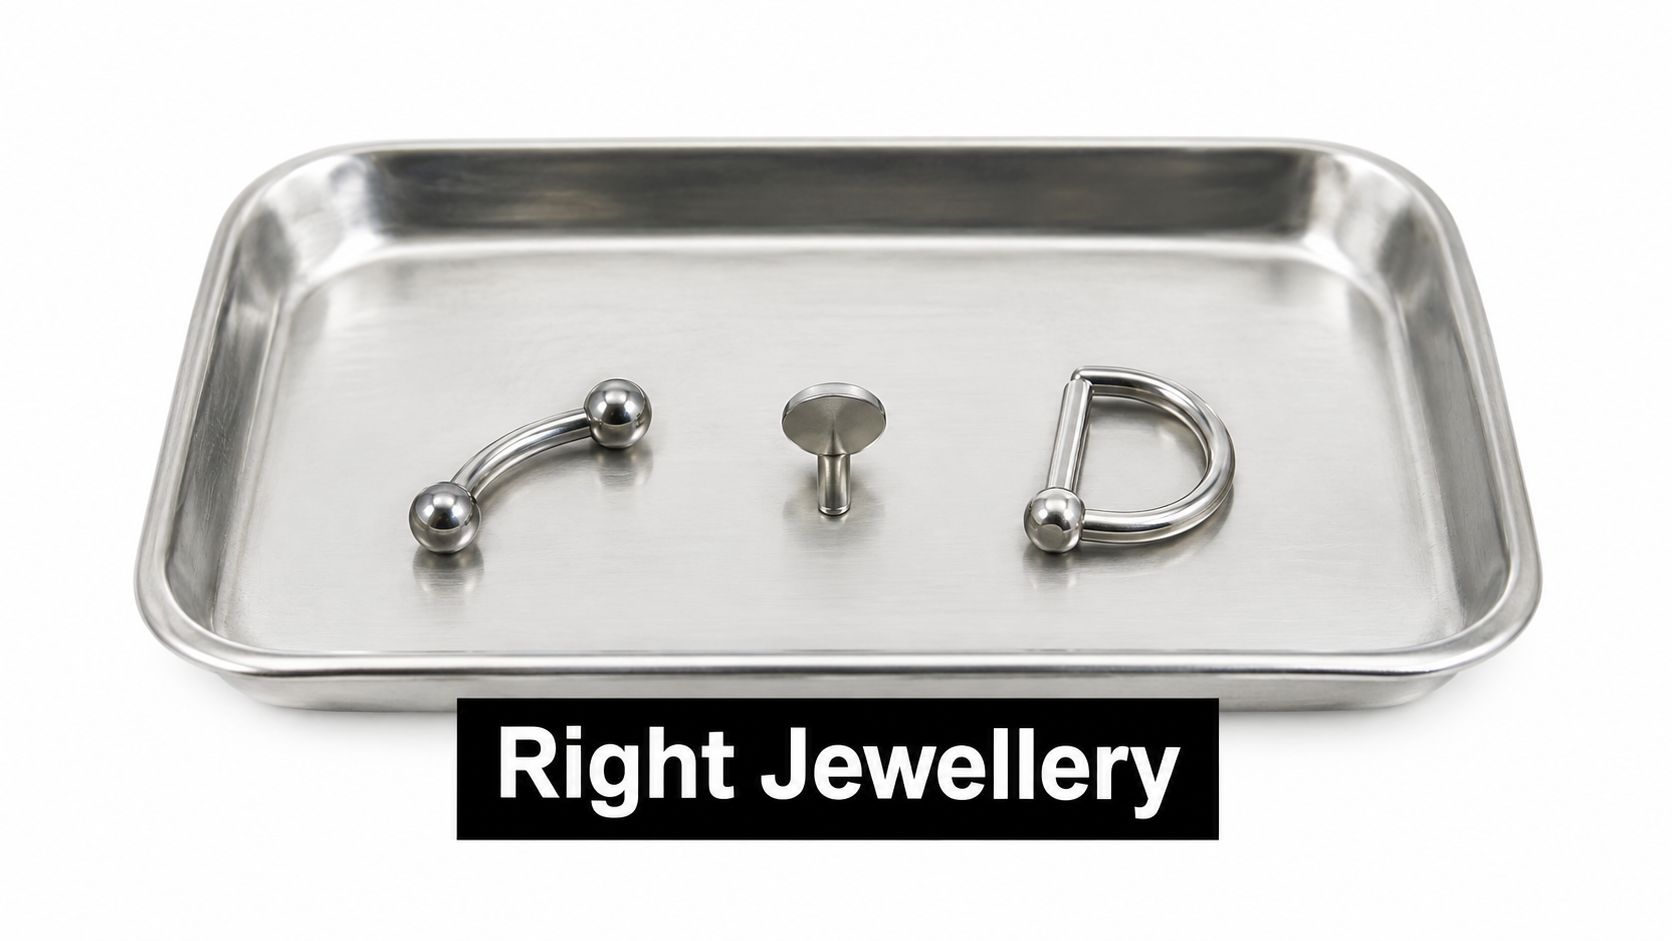
A slightly longer initial bar can allow for expected swelling. That doesn't mean longer is always better. Excess length can move more, catch on clothing and create pressure against the fold. The piercer should choose a length that gives the tissue room without leaving a loose lever across the abdomen.
A flat disc or low-profile top bead can reduce catching on waistbands. Curved barbells often follow the shape of the fold more comfortably than straight jewellery. D-shaped belly bars may provide a lower profile in some anatomies, while captive rings are usually considered cautiously because a ring can move, pull and apply changing pressure as the abdomen bends.
Questions to ask before choosing a piece
Ask the piercer to explain how the jewellery will sit when you're standing and seated. You should also understand whether the lower end will be visible, hidden inside the navel or replaced with a flatter component to avoid pressing on the projection.
UK public-health guidance lists embedding, migration, scarring, allergic reactions, inflammation, bleeding and infection as recognised piercing risks, particularly when anatomy is tight or jewellery is compressed by movement or clothing. You can read the relevant UK public-health guidance on piercing risks, then discuss the specific implications for your anatomy.
For material information, a titanium piercing jewellery guide can help you understand why a studio may recommend titanium for the initial piece. Don't choose a decorative shape until the piercer has confirmed that its size, weight and profile won't work against the fold.
A Realistic Healing Timeline for an Outie Piercing
The first few days can feel more dramatic than expected. You may notice tenderness, mild swelling or sensitivity when clothing brushes the area. An outie can make that sensation more noticeable because the jewellery sits close to a projection that already meets fabric and movement.
During the early period, your job is mostly to leave the area alone. Don't test the jewellery by moving it, and don't judge the final appearance while the tissue is swollen. A clean, low-pressure routine gives the channel the best chance to settle.
The everyday irritants arrive later
After the initial tenderness fades, ordinary routines become the main challenge. High-waisted jeans can press directly across the jewellery. Seatbelts may cross the abdomen at an awkward angle. Gym waistbands, fitted workwear and sleeping curled on your side can all create repeated friction without causing an obvious injury in one moment.
This is why a piercing can appear calm and then develop persistent redness after a change in clothing or activity. The tissue may be reacting to repeated pressure rather than poor hygiene. Adjust the source of friction promptly instead of adding stronger cleaning products.
Healing is a long process
At the three-to-six-month stage, a client may assume the piercing is healed because it no longer feels tender every day. The channel can still be vulnerable to pressure, jewellery changes and catching. An outie adds a mechanical challenge that a calendar can't remove.
UK local-authority aftercare guidance recommends avoiding belts, tight trousers and restrictive clothing for approximately six to twelve months while a navel piercing heals, as set out in this UK navel aftercare guidance. Choose loose, breathable clothing and keep waistbands away from the jewellery for as much of that healing window as your routine allows.
By the later healing stage, the tissue should feel settled and the jewellery should remain comfortably positioned. Persistent pressure-related redness, thinning skin or a bar that looks increasingly visible needs review rather than concealment.
Aftercare That Protects Against Migration
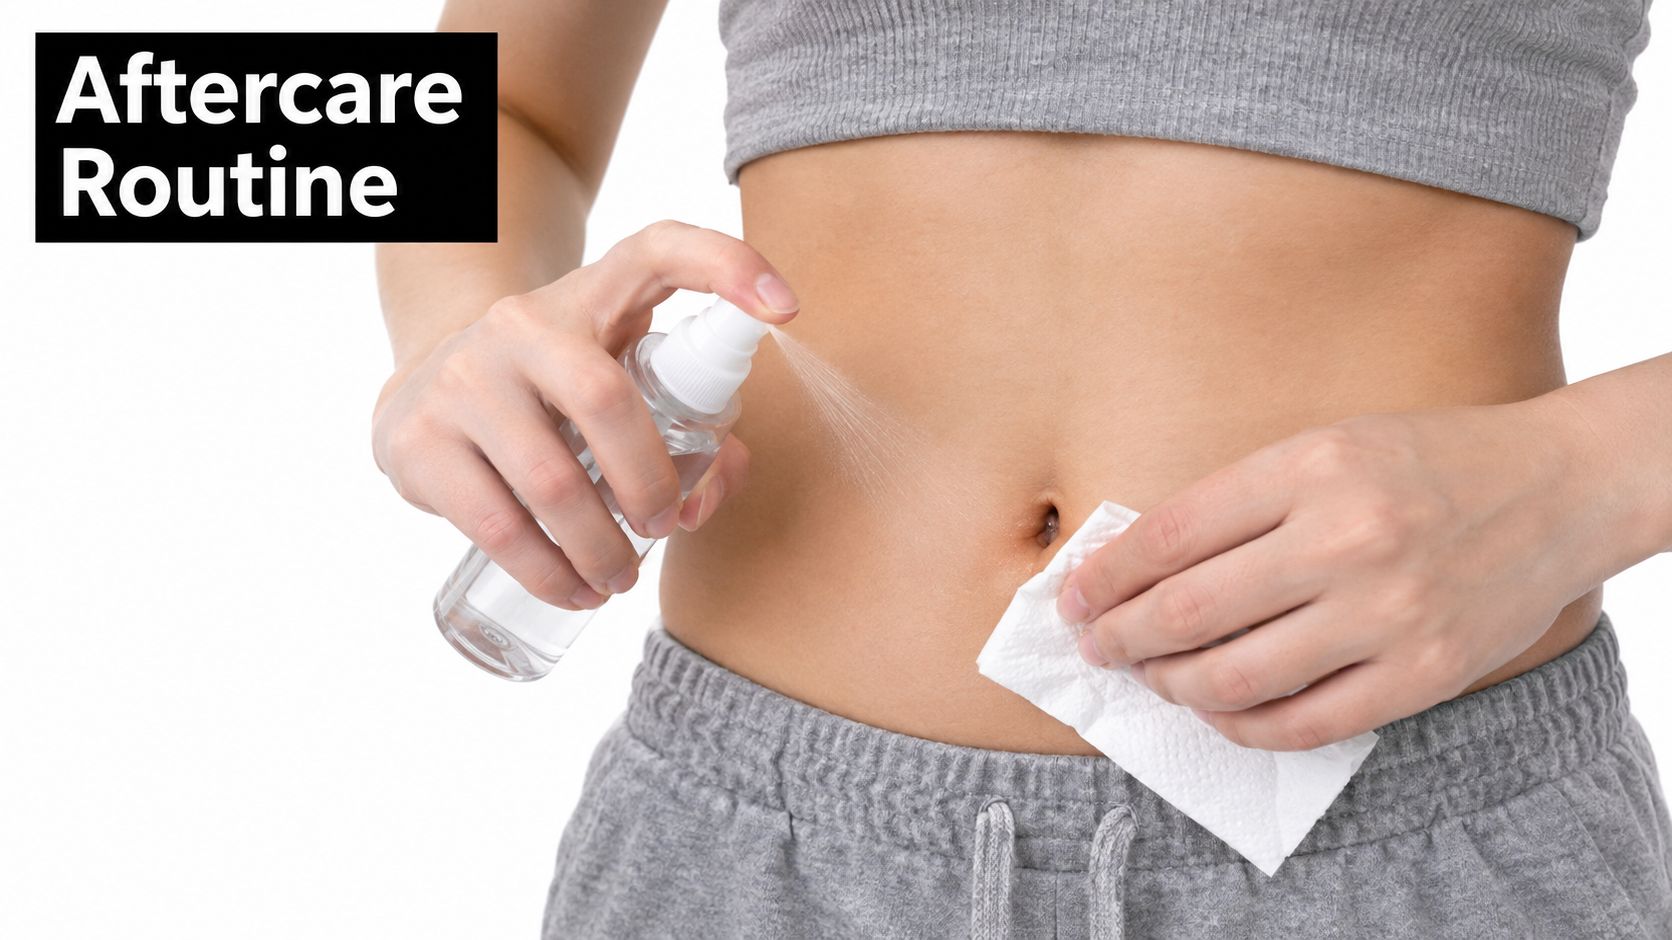
Good aftercare is deliberately boring. Wash your hands before touching the area, rinse away discharge gently and prevent clothing from rubbing across the jewellery. Harsh products, picking and repeated handling can keep an otherwise suitable placement irritated.
A simple routine works better than constant experimentation. Use appropriate sterile saline if recommended by your piercer, allow softened discharge to rinse away and dry with fresh disposable paper towel. Don't pick scabs, and don't twist or turn dry jewellery, because movement can disturb the healing channel.
Reduce pressure before irritation starts
Keep belts and high waistbands away from the site. If you exercise, choose clothing that doesn't trap the jewellery against the abdomen, and consider how sitting at a desk, travelling in a car or sleeping position affects the area.
Avoid swimming during the first 24 hours after piercing, as NHS aftercare guidance advises. Keep skincare products, fragrance and body oils away from the channel unless your piercer has given you a specific reason to use them.
Know when it needs medical advice
Early tenderness isn't automatically an infection. The warning signs are increasing swelling, pain, heat, unusual redness or darkening, blood or pus, especially when you feel hot, cold, shivery or generally unwell.
The NHS guidance on infected piercings advises seeking urgent GP or NHS 111 help if infection is suspected. Leave the jewellery in place unless a doctor tells you to remove it, because premature removal can allow the channel to close and may trap infection.
Practical rule: If the tissue is thinning, the jewellery is embedding or the redness keeps returning after pressure is removed, contact your piercer and seek clinical advice rather than waiting for the problem to resolve itself.
Booking a Studio Consultation in Croydon or Bournemouth
A good consultation should feel specific. The piercer should assess your anatomy while standing and sitting, identify the proposed entry and exit points, discuss the jewellery profile and check whether the bar has movement clearance. You should leave knowing what will happen if the outie doesn't provide a safe fold.
The studio should also explain hygiene before the procedure. UK guidance for body piercing includes handwashing, clean surfaces, skin disinfection, a sterile dressing and immediate disposal of used needles or contaminated waste into sharps containers. These details matter because a navel piercing breaks the skin and can carry infection and injury risks.
What a responsible booking conversation includes
Expect the piercer to discuss:
- Anatomy: Whether the tissue above or below the projection can hold a stable channel.
- Movement: How the placement behaves while seated, bending and wearing everyday clothing.
- Jewellery: The material, bar length, end profile and how swelling will be accommodated.
- Alternatives: Whether another placement is viable, or whether declining is the safest decision.
- Aftercare: Clothing changes, cleaning, warning signs and who to contact if concerns develop.
Historical UK evidence reinforces the value of taking that screening seriously. A 1999 survey of family doctors in Bury and Rochdale found that 95% had seen patients with body-piercing complications. The same record described 191 navel infection cases, compared with 167 ear-piercing cases, and noted that navel cases were among the most difficult to treat.
For clients near the capital, you can review piercing shops in Croydon and ask for an anatomy consultation before committing to jewellery. Croydon and Bournemouth clients can call 01202 900050 (Bournemouth) / 020 8686 7730 (Croydon) or message 07752 913846 (Bournemouth) / 07902 490584 (Croydon) on WhatsApp. A professional declining the piercing may be giving you the most useful answer available.
Piercing Near Me helps clients find consultations and professional piercing services in Croydon and Bournemouth, including anatomy-led guidance for navel placements, jewellery selection and personalised aftercare. Visit Piercing Near Me to explore your options, then call 01202 900050 (Bournemouth) / 020 8686 7730 (Croydon) or WhatsApp 07752 913846 (Bournemouth) / 07902 490584 (Croydon) to discuss your outie before booking.